Building my first Hammered Dulcimer
Posted: Mon Apr 21, 2014 11:05 pm
After much research and debate along with advice Nicholas Blanton and the great folks over at everythingdulcimer, I have started my first HD. It will be a 17/17 with a glued top based on Deb Suran's plans (#39 GAL http://www.luth.org/plans/instrument_plans.html#plan39 ).
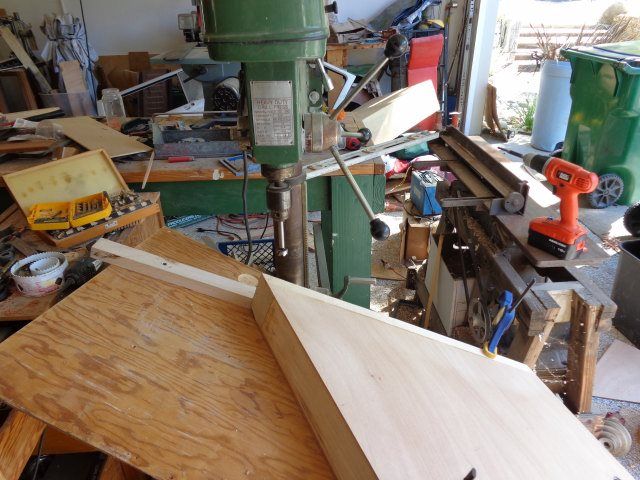
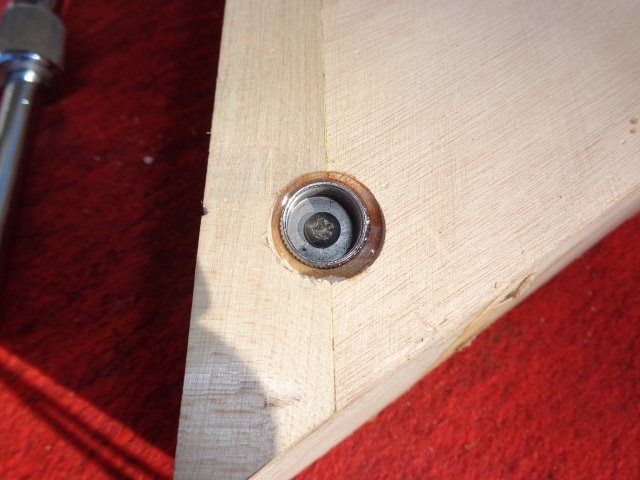
I started with the pin blocks. To be honest I had to toss the first pair I made because I tried to cut the slots for the rails on the table saw. The second time I used the band saw to cut in from the end and it worked much better. It was probably a good thing I messed up that because it gave me two pieces to test drilling for the pins. Finally settled on this. The tops of the pin blocks are beveled at 15° so I set the table on the drill press table at 18° to make sure that the strings stayed down. Then I set the fence at 34° (the angle of the pin blocks) off axis. I glued a full template of the pin locations to the pin block to keep everything in the right place (I hope). I used a piece of 1/4", 1/2", and 3/4" plywood to space out the four rows of pin holes.
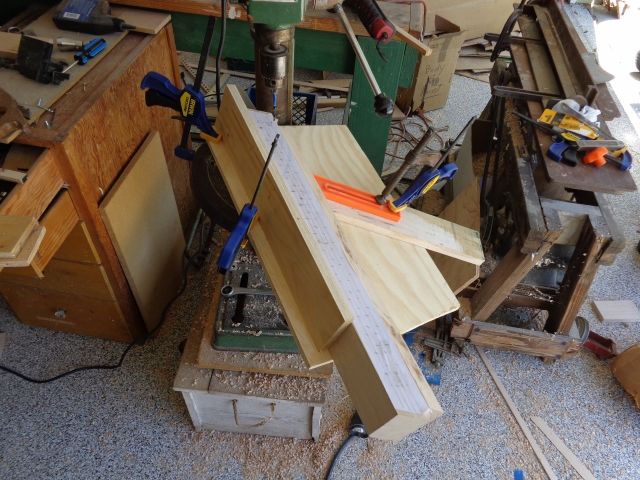
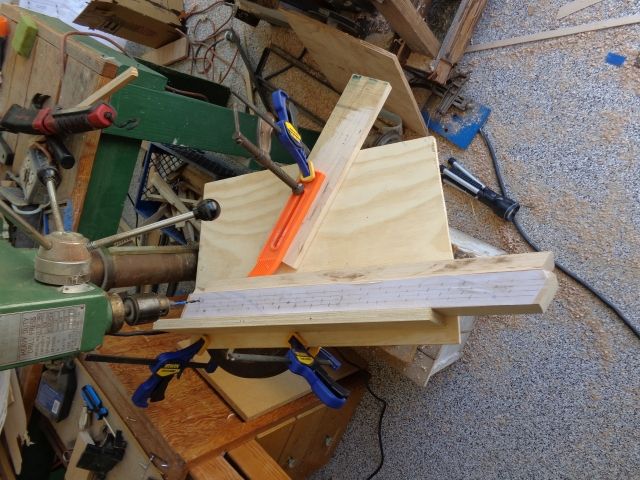
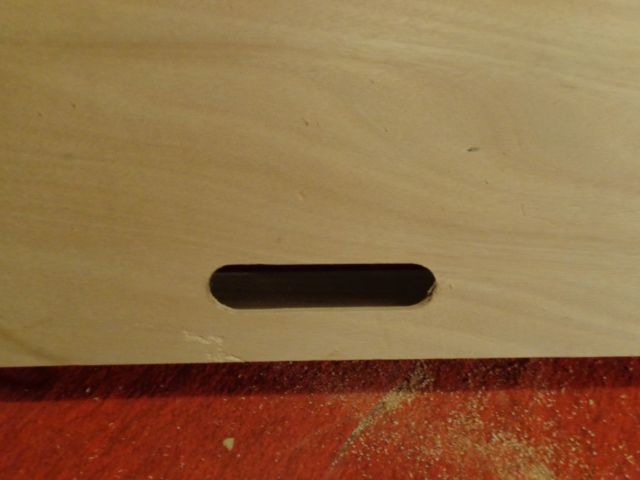
Then I got to thinking about carrying this thing around and decided that since I had overbuilt it I should remove a bit.
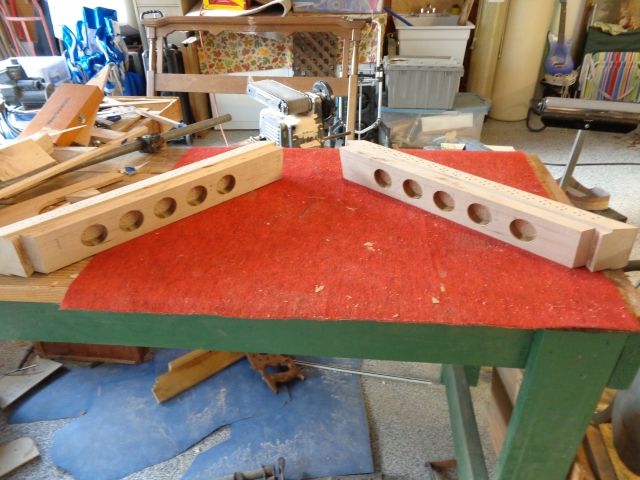
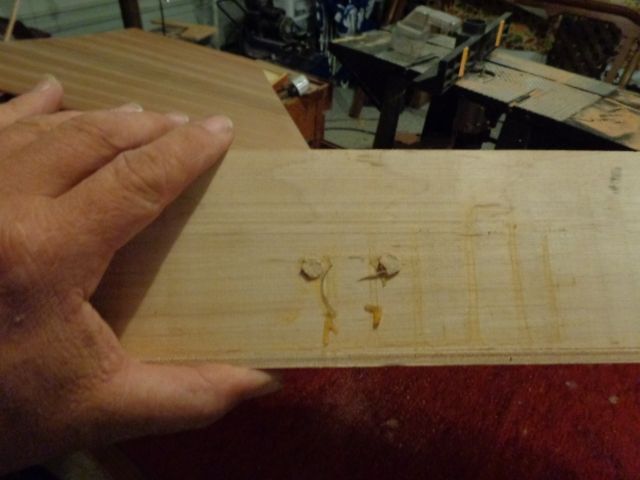
While I was thinking about how to drill all those holes, I decided to work on something simple...the bridges. The first one (bass) was a piece of cake, but it took four tries to get the treble bridge done.
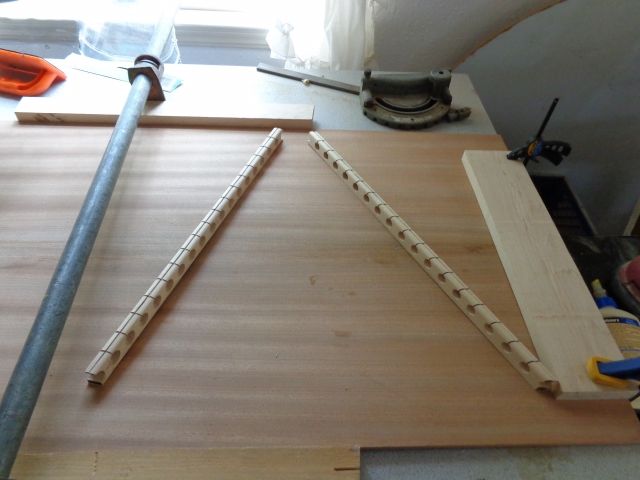
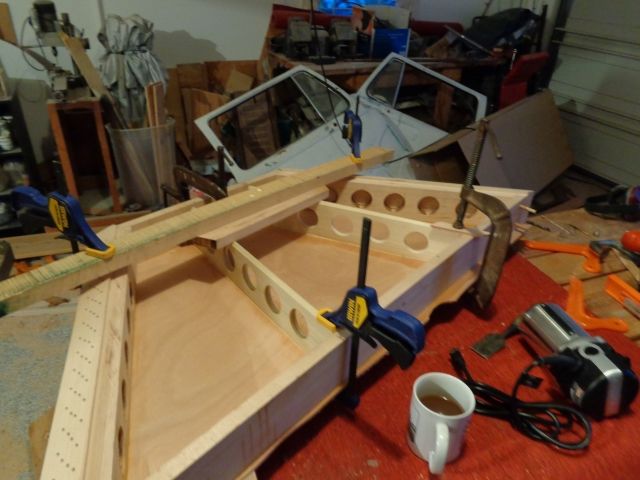
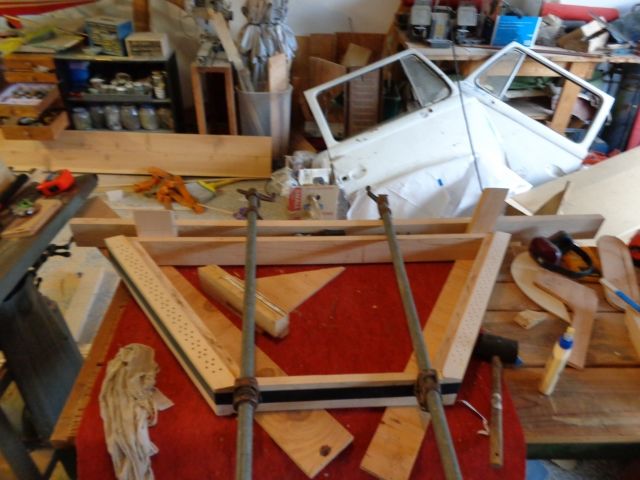
Here's a shot of the frame being glued up. Extra bonus points if you can figure out what those doors are off of.
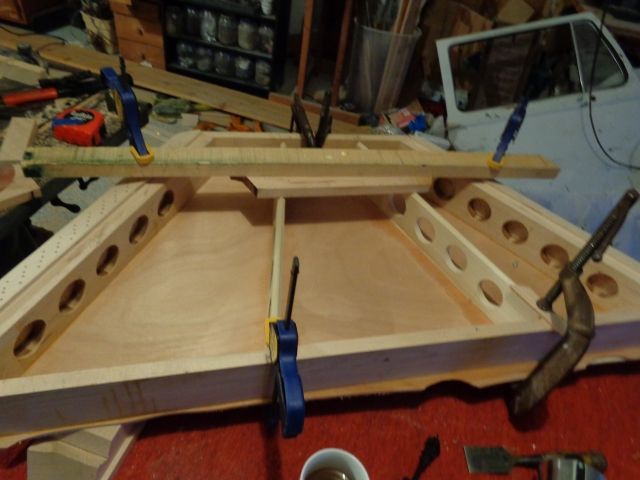
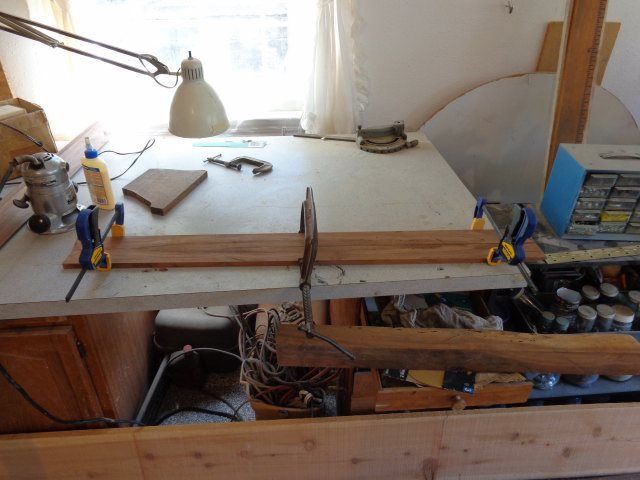
While that was drying, I took care of the bridge braces.
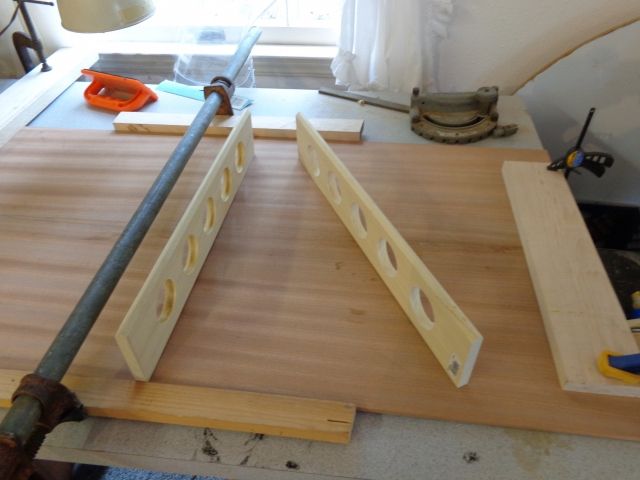
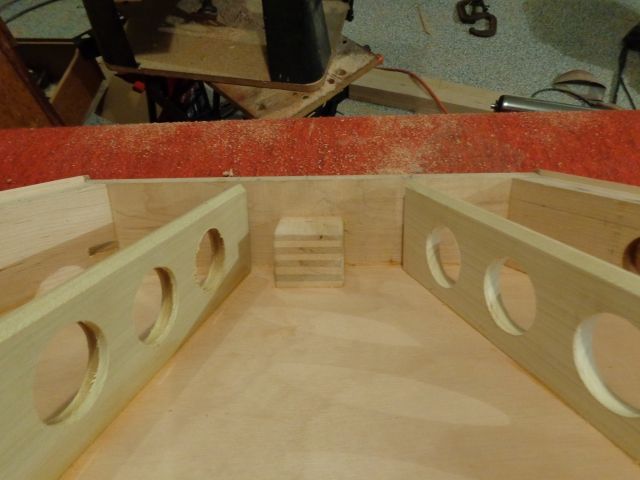
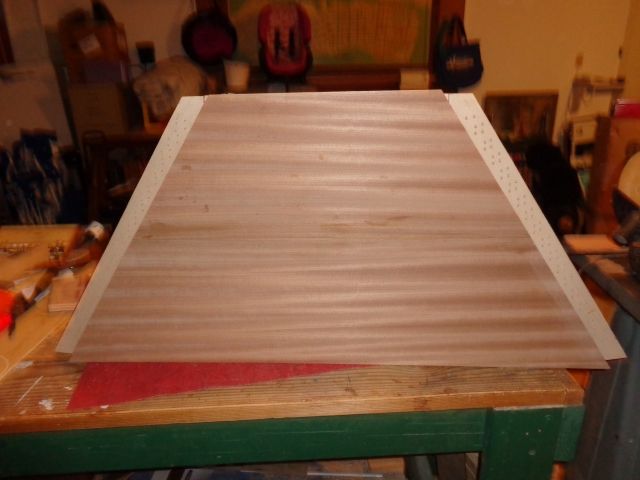
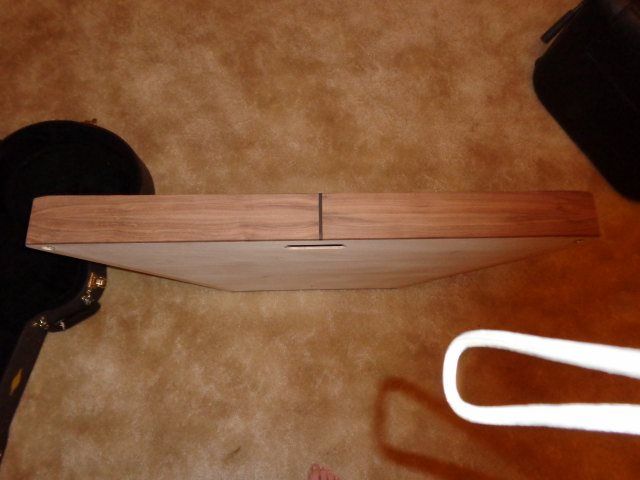
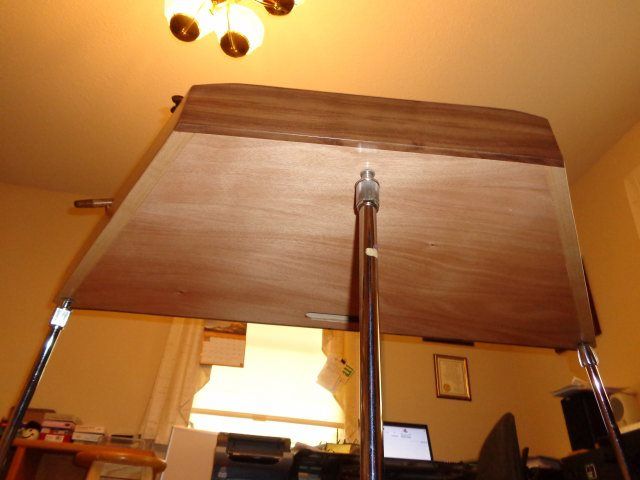
Next I cut and fitted the bottom (marine grade Okoume 1/4" ply) and glued it up. (BTW that isn't a gap on the left corner but a shadow from where the short rail is a little proud).
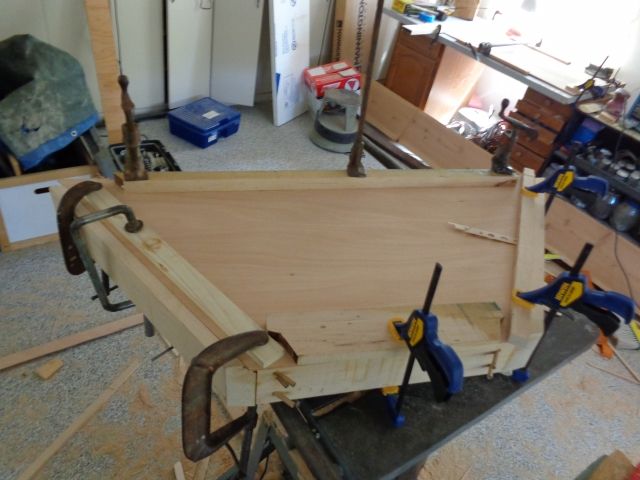
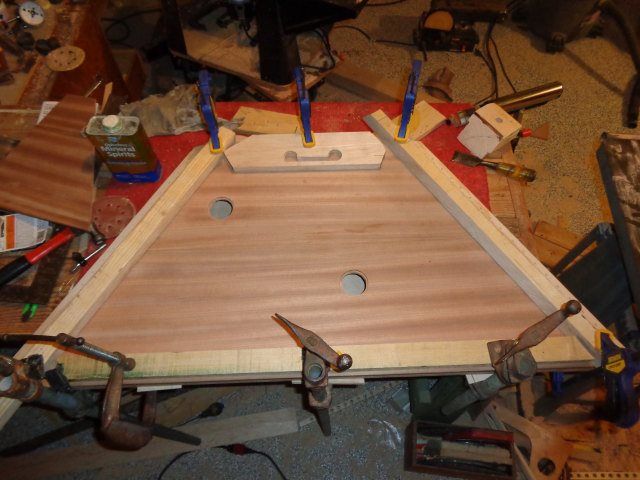
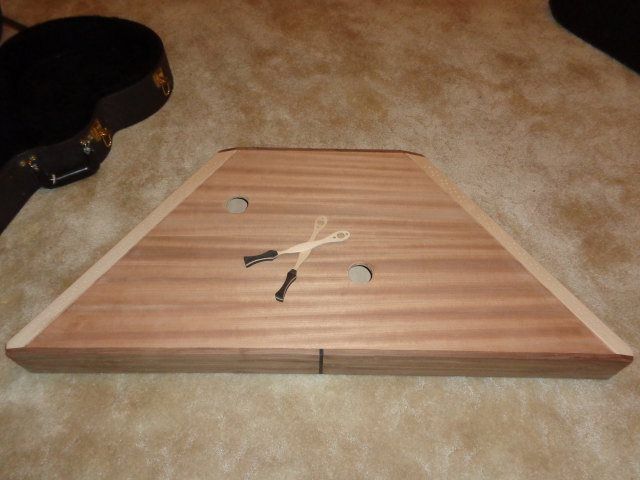
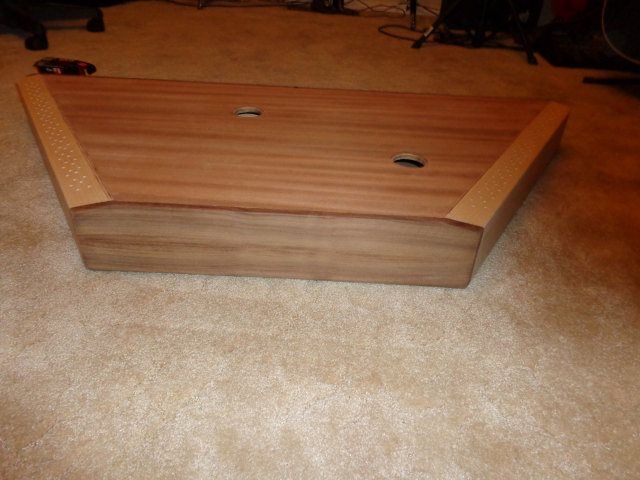
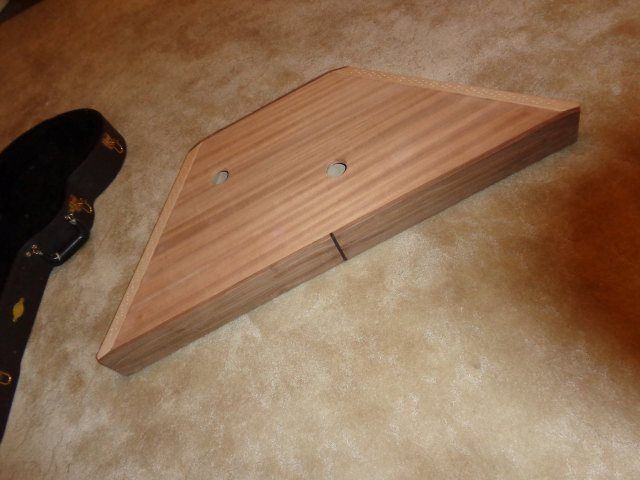
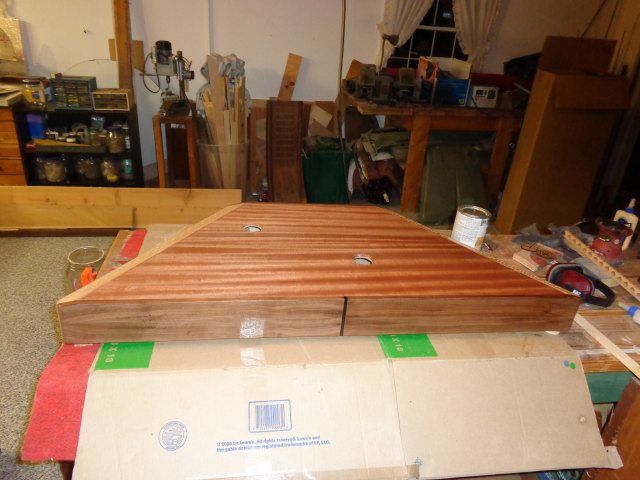
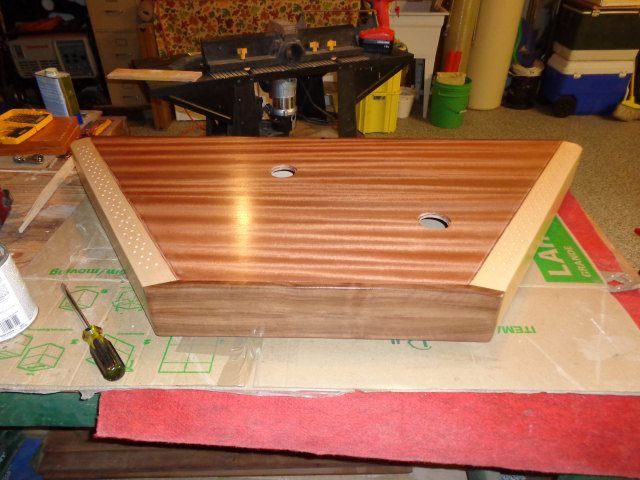
Then I glued up the top.
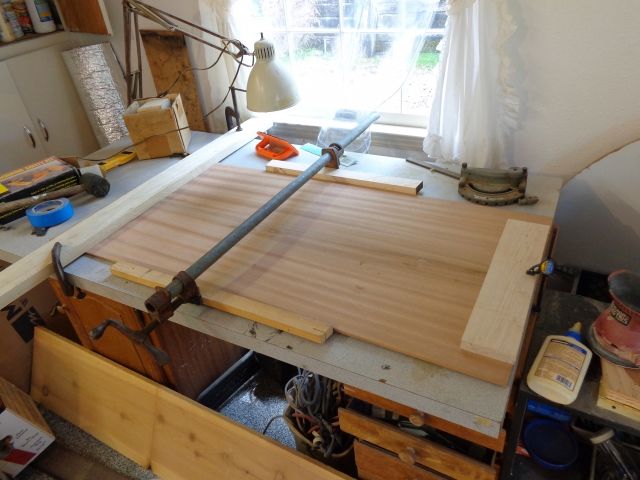
Well that's as far as I got this week. I'll post the rest of it next week (God willing).
I started with the pin blocks. To be honest I had to toss the first pair I made because I tried to cut the slots for the rails on the table saw. The second time I used the band saw to cut in from the end and it worked much better. It was probably a good thing I messed up that because it gave me two pieces to test drilling for the pins. Finally settled on this. The tops of the pin blocks are beveled at 15° so I set the table on the drill press table at 18° to make sure that the strings stayed down. Then I set the fence at 34° (the angle of the pin blocks) off axis. I glued a full template of the pin locations to the pin block to keep everything in the right place (I hope). I used a piece of 1/4", 1/2", and 3/4" plywood to space out the four rows of pin holes.


Then I got to thinking about carrying this thing around and decided that since I had overbuilt it I should remove a bit.

While I was thinking about how to drill all those holes, I decided to work on something simple...the bridges. The first one (bass) was a piece of cake, but it took four tries to get the treble bridge done.

Here's a shot of the frame being glued up. Extra bonus points if you can figure out what those doors are off of.

While that was drying, I took care of the bridge braces.

Next I cut and fitted the bottom (marine grade Okoume 1/4" ply) and glued it up. (BTW that isn't a gap on the left corner but a shadow from where the short rail is a little proud).

Then I glued up the top.

Well that's as far as I got this week. I'll post the rest of it next week (God willing).
