First Build - Tulipcaster

Please put your pickup/wiring discussions in the Electronics section; and put discussions about repair issues, including "disappearing" errors in new instruments, in the Repairs section.
Wayne Sutton
Posts: 17
Joined: Sat Sep 28, 2013 2:05 am

First Build - Tulipcaster

Post by Wayne Sutton »

Hiya,

New to the site and new to guitar building and wood working in general. I have not really done any woodworking since I was a freshman in high school, and thats been a few years now :lol: . Some of you may recognize my pictures from other sites. I am posting build threads on a few sites, trying to get as much feedback, comments, tips, tricks, what-have-yeah as I can since I am flying blind pretty much.

The updates as well will probably be few and far between. I am not exactly set up to do any wood working and I really dont have any of the power tools to make my life easier nor the budget to go out and buy everything. So I will have to get the necessities as I need them and try and make do on some steps without luxuries.

My goals for this build is to end up with the same amount of eyes and fingers/limbs as I started with and end up with a body that is useable. I am by no means expecting anything close to perfection, I am looking forward to playing something that I built whether its pretty or butt ugly. I am not going to try and tackle a neck, maybe next time. Babysteps!

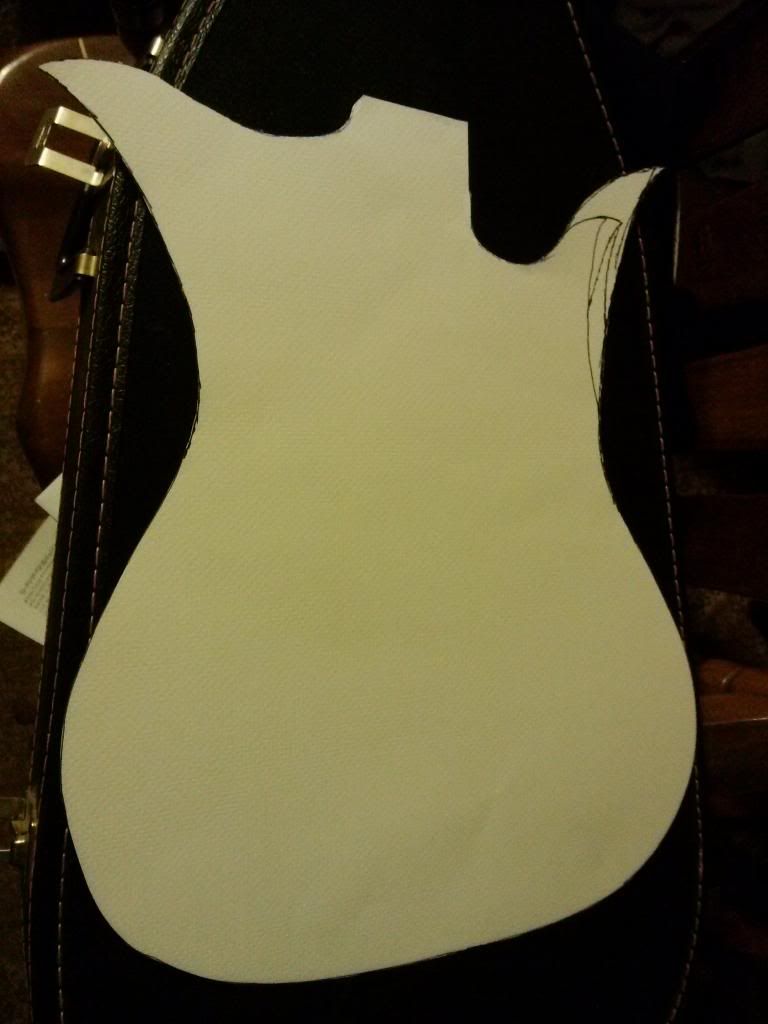
I am finally done rambling and onto my build. My build is inspired by the old Teisco Del Ray Tulip guitars of the 60s/70s. For my template, I guess you can call it, I took my old Jedson/Teisco and made an outline of the guitar, I then doodled around with the horns until I found something I liked, and then lined up a strat with the neck to make the cutaways more player friendly. I ended up with this. I am pretty pleased with it, and actually the end body will have a flat area on the bottom for two reasons 1. My Cap wood wasnt wide enough and 2. since my cap wood wasnt wide enough I will put the jack down there so it will look like it was on purpose :lol: :mrgreen: .
Image

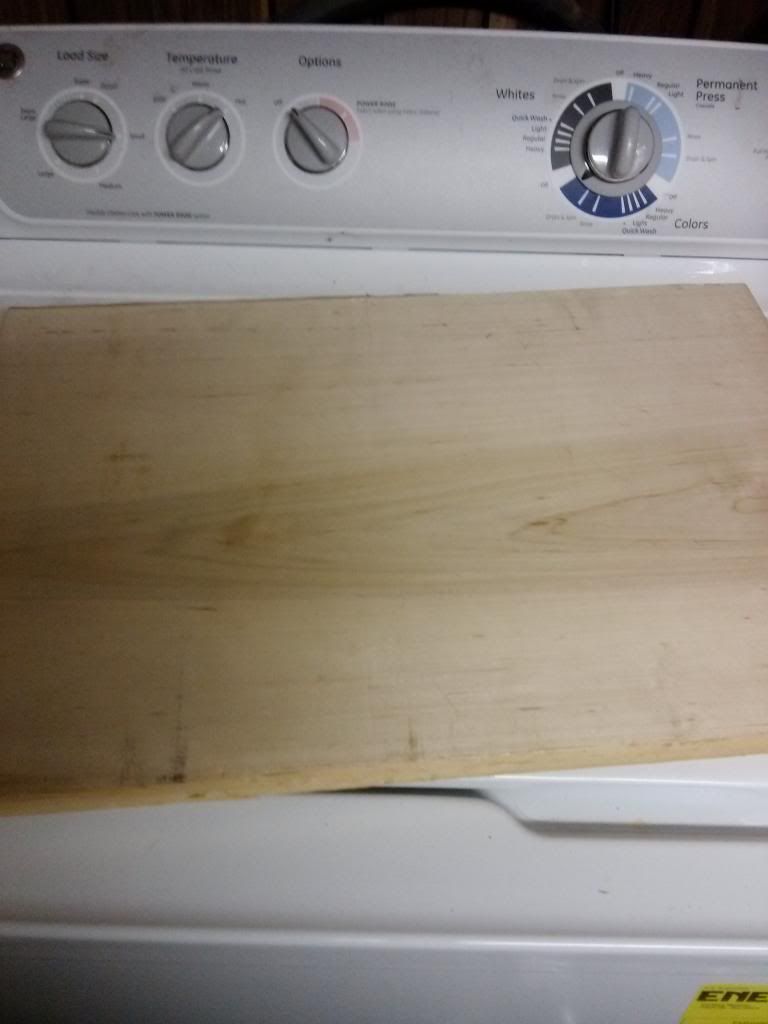
I got to the lumberyard yesterday, and ended up with some .25" Black Walnut and a 1.25" Soft Maple Slab. Its definitely not going to be a light body by any means :lol: . I spent a whopping $4.26 for the wood so I cant complain.
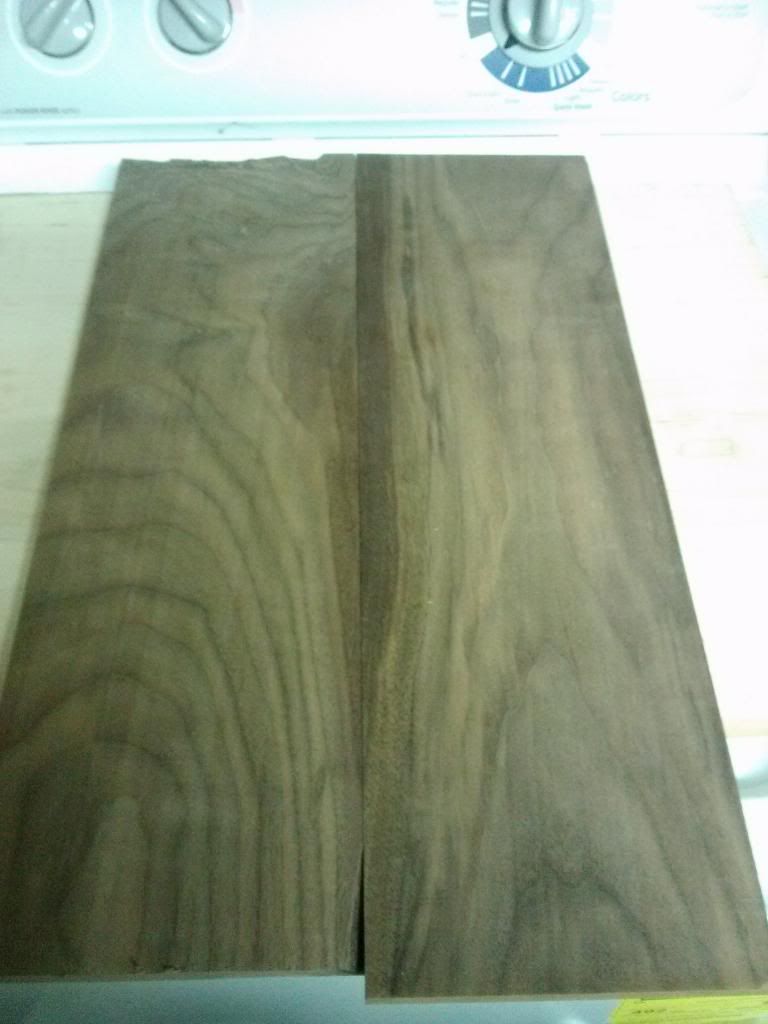
Image
Image

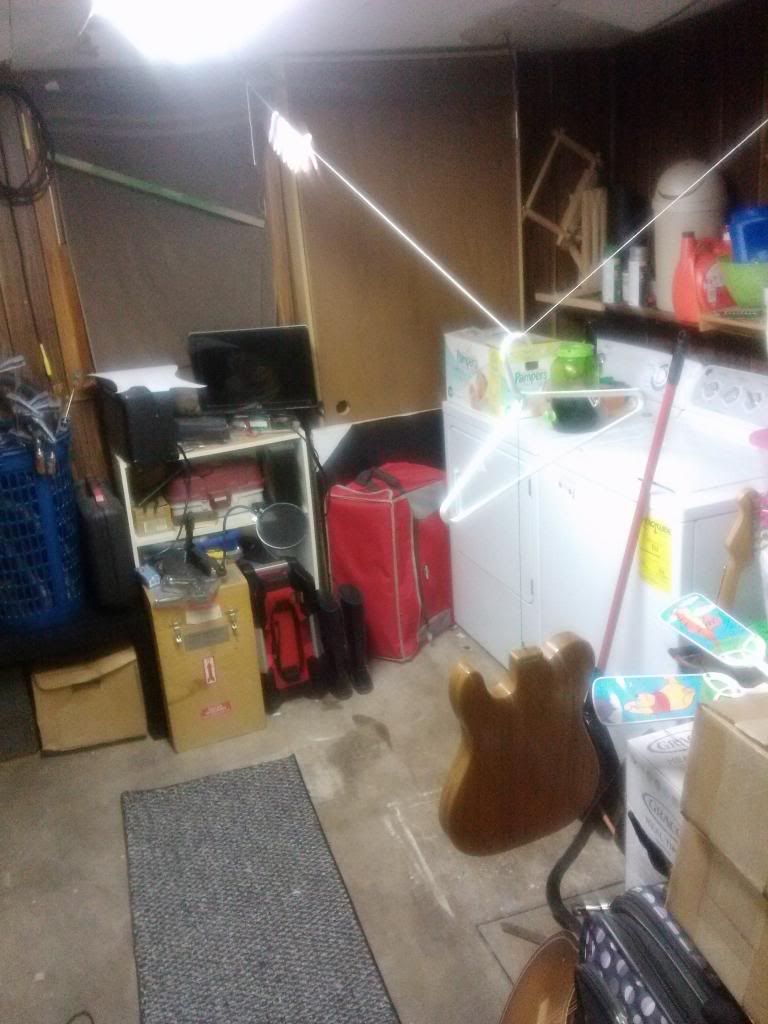
I then had to find my workbench aka the metal cabinet, after the baby was born the mudroom became a catch all :shock:. Thats alright I just piled everything up in front of the washer and dryer :mrgreen: .

Image

I found an arrangement for the Black Walnut that looked alright. It had straight edges so I didnt have to worry about using a Jointer on them, which is good because I don't have one and I didnt think about having the guy at the mill do it :lol: . So, I went ahead and glued them up.
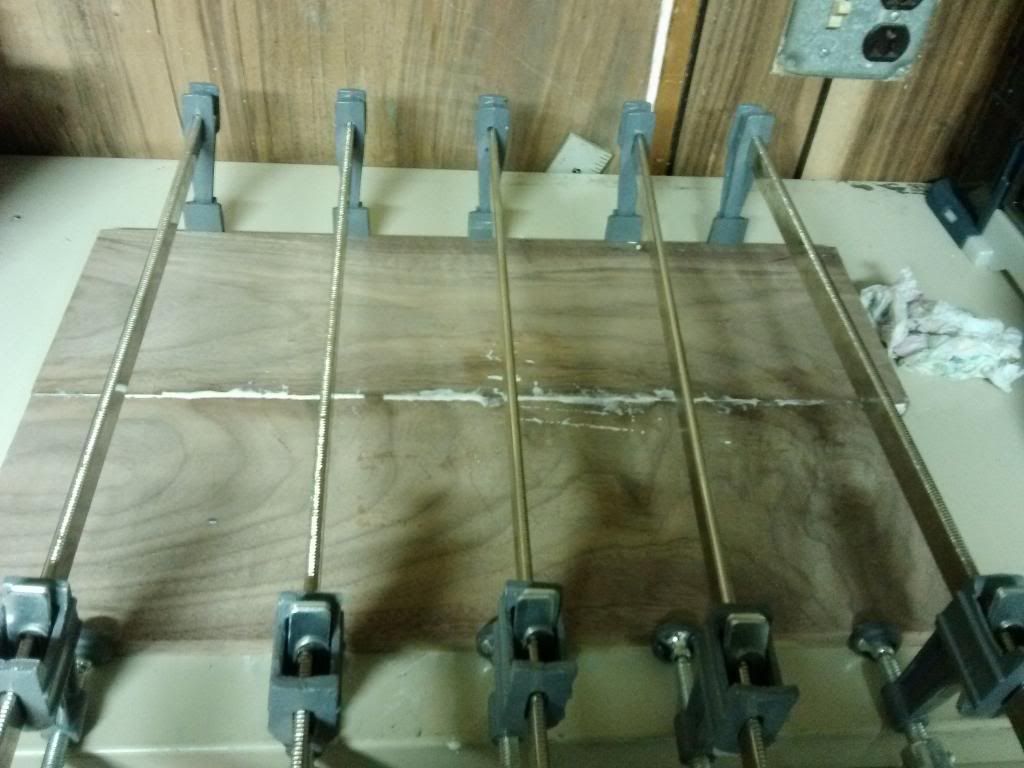
Image

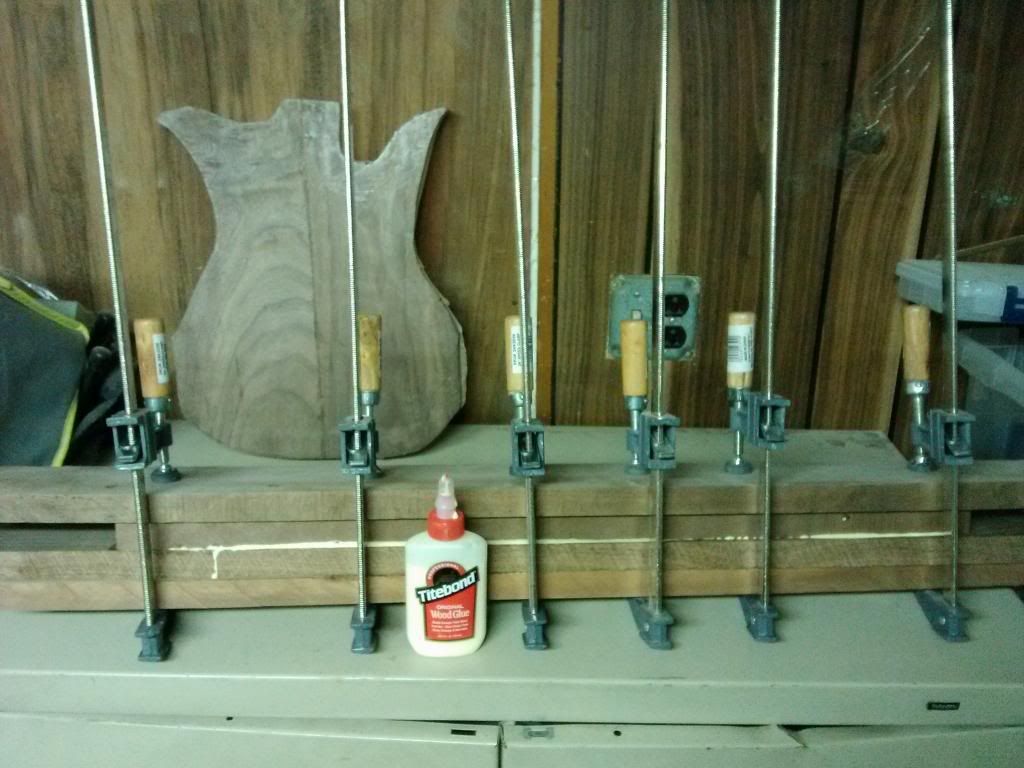
The Gorilla Glue claims a 20 minute clamp time, I gave it about an hour and then carefully unclamped it and glued on the Maple slab. I wish I bought more then 6 clamps now, I am a bit worried I didnt get enough pressure. More clamps will be on the list for the next time I head to the big box lumber yard that way I got them for the next build. I also didnt have really any wood blocks around for the clamps to sit on, I used some old legs off of an old coffee table to try and help get some even pressure.
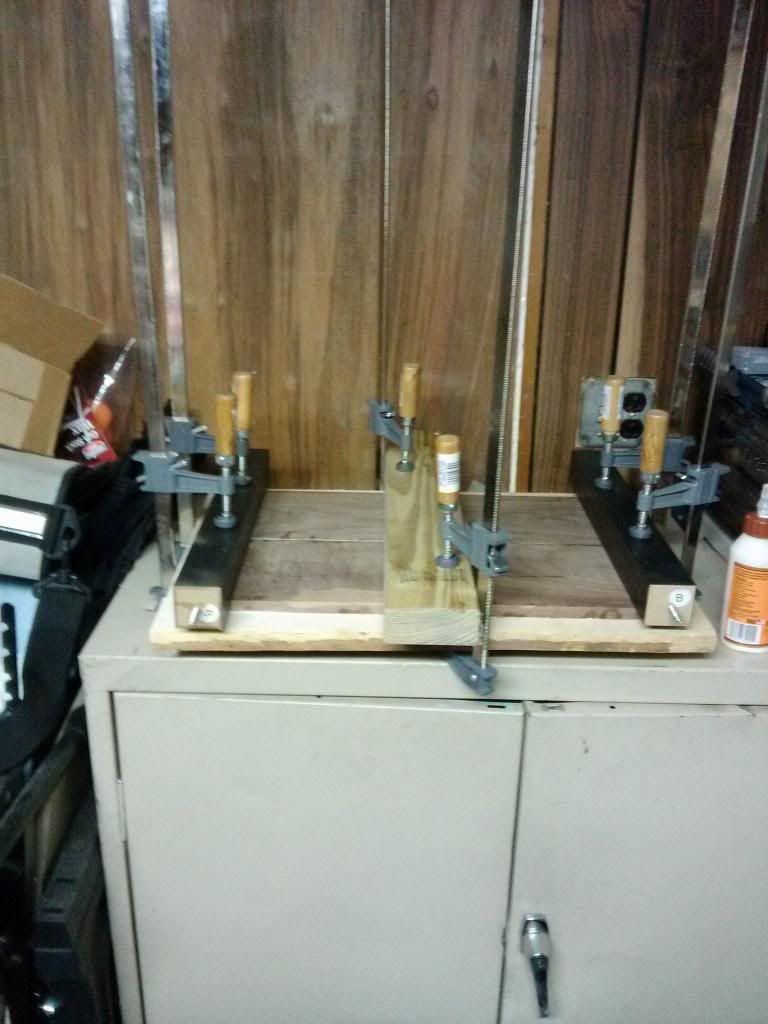
Image

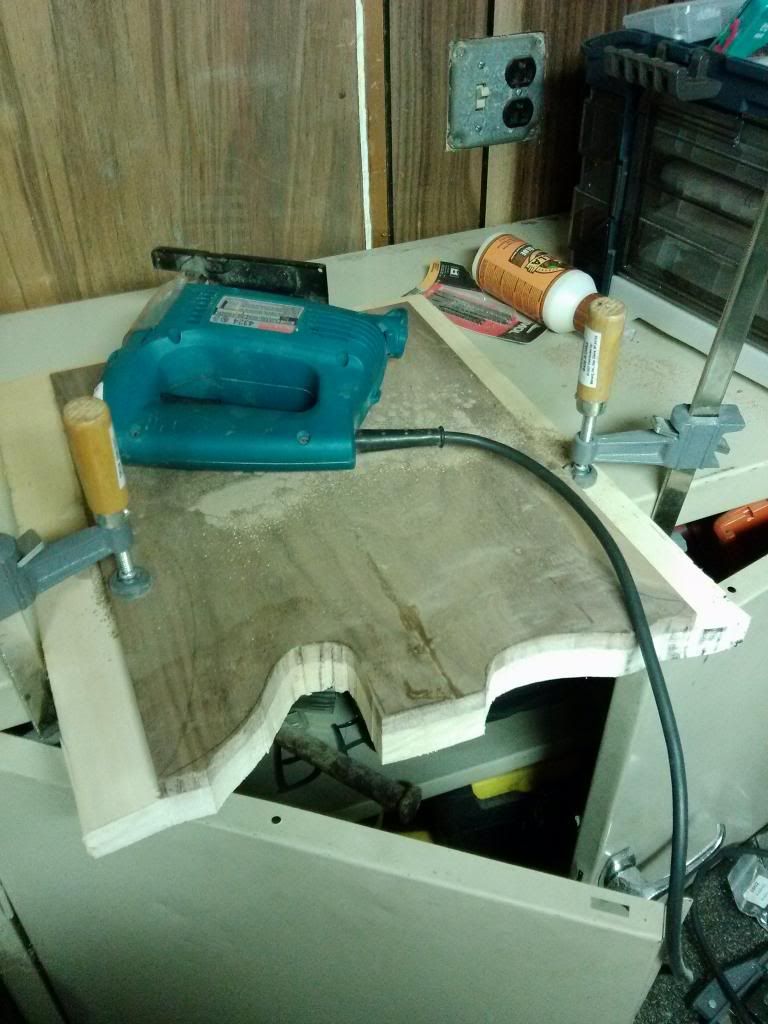
My next step will be cutting the body out. I don't have a 14" Band Saw, no access to one and definitely cant afford to go out and buy one so I will be using a Makita Jigsaw I picked up at a pawn shop for $10. I have a feeling that a Bandsaw will be my first major power tool purchase. I am hoping I will be able to do it before I have to leave for work tomorrow, if I dont have a chance to, it will have to wait till next Saturday. I would like to have mama to be home with the baby when I do it, I am sure it will be noisy.

Like I said before, comments, suggestions, tips, tricks, everything is welcome. I would prefer to do it right the first time since its pretty hard to turn sawdust back into wood :mrgreen: .

Thanks for looking!
Warren May
Posts: 246
Joined: Fri Aug 10, 2012 7:00 pm

Re: First Build - Tulipcaster

Post by Warren May »

Welcome to the addiction.

Tip #1: Make sure mama and the baby come first. Guitars are shaped like women and jealousy can ensue if you get the priorities out of order.
Tip #2: Don't use her washer and dryer as tool benches. Also, don't bring sawdust, glue, finish and other messes into the house without her permission. It is NOT better to ask for forgiveness rather than permission in this case. I now have to refinish our kitchen table because of a really, really tiny scratch from an unrecovered piece of fret after nipping the ends inside the house on a refret. I couldn't buy tools for a while as punishment.
Tip #3: Hide all receipts for tools. You will become addicted once you spill for a bandsaw. Don't buy her a new router for her birthday or build her a new jewelry box as an excuse to buy your new bandsaw.
Tip #4: Clean your shop before she sees the mess you've made :)
Tip #5: Slow down, clean and organize your workspace. It's easier to make a mistake when you rush. It's also easier to make a mistake when there are too many things on your workbench, floor or in your way. Especially a small shop. One day, when she tries to get to the drier and can't because of your guitar stuff, you will have to slow down anyway to buy her a new piece of jewelry.
Tip #6: Plan how long you think it will take and double that. Halfway through, you will probably be on 25% finished.
Tip #7: Buy or build more clamps. I use HF stuff and it works just fine. Some types are better than others for guitarmaking.
Tip #8: Don't use Gorilla glue for the rest of it. Original Titebond will work well for you.
Tip #9: Have a look at Kathy Matsushita's (sp?) website for how to organize a shop in a small space. She keeps it extremely tidy.
Tip #10: Keep mama happy.
User avatar
Barry Daniels
Posts: 3223
Joined: Thu Jan 05, 2012 10:58 am
Location: The Woodlands, Texas

Re: First Build - Tulipcaster

Post by Barry Daniels »

You should have jointed the walnut before you glued it together. Those surfaces may have been machined years ago and they probably were nowhere close to being clean and straight. I would recommend that you cut the joint apart, get a hand plane and learn to use it by practicing on this joint. You can't take short cuts like this and expect to make a quality instrument that won't start to fall apart in a few months.
MIMF Staff
User avatar
Bryan Bear
Posts: 1382
Joined: Fri Jan 06, 2012 1:05 pm
Location: St. Louis, MO

Re: First Build - Tulipcaster

Post by Bryan Bear »

You've gotten good advice from these guys above. Start reading here look through the library. There are plenty of discussions on tools and glues that will serve you well as you get your feet wet.
PMoMC

Take care of your feet and your feet will take care of you.
Wayne Sutton
Posts: 17
Joined: Sat Sep 28, 2013 2:05 am

Re: First Build - Tulipcaster

Post by Wayne Sutton »

@ Warren - sounds like you learned all that the hard way :mrgreen: . As for the Gorrilla glue, i didnt realize it was so hated, i have read other build threads that have used it with success. Now i get to the actual build forums and everyone is saying "NOOO!!!" lol. I will keep the titebond in mind for the next build, i shouldnt have any more glueing on this build.

@ Barry - Im not too worried about the joint, the place i buy my wood is a small ma and pa outfit that does everything in house and stuff doesnt sit around for long. If I was thinking at the time i would of asked them to go over it again for piece of mind, they are the type of people that bend over backwards for even the hobyist.

How well do hand planers work? Do you just put the wood in a vice and start shaving? If i can get away with hand planing that would be awesome, as it is the room is already crowded and will be more so. If I can save from buying a space eating tool, i will.

@ Bryan - thanks and yeah, i have been trying to absorb as much info as i can.

I will have an update later tonight or tomorrow, i would do it now but im on my phone. Thanks for the information so far.
Wayne Sutton
Posts: 17
Joined: Sat Sep 28, 2013 2:05 am

Re: First Build - Tulipcaster

Post by Wayne Sutton »

I had a half an hour today before I had to leave for work so I started on the Jigsawing. Of course I started with the hardest part :lol: , its going better then I thought it would though. Its definitely not as clean of cuts as a bandsaw but if the rest of the cutting goes well, I think I will put off acquiring a bandsaw until the jigsaw dies, I have another need for one or I have everything else I need.

Image

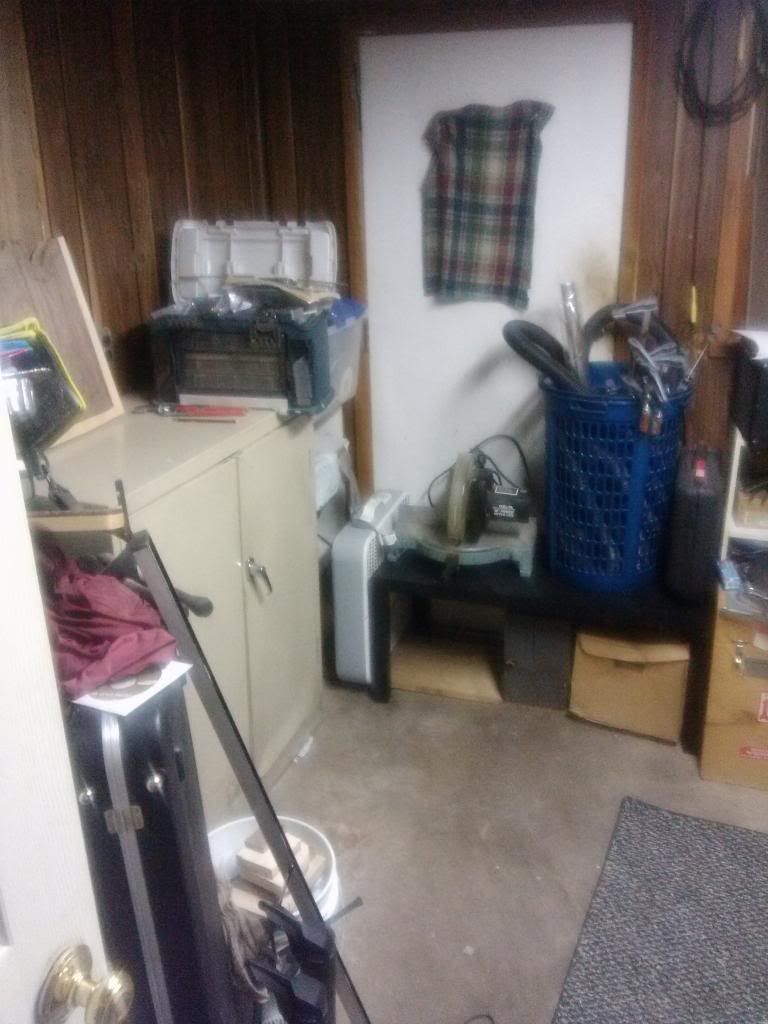
After work I took an hour and attempted to organize the Mudroom aka from now on my Workshop although it just happens to have the Washer, Dryer, Freezer, and a pile of Rubermaid containers with baby stuff in it. But that one corner in the back definitely my workshop 8-) :mrgreen: . It doesnt look like much but it will be upgraded as time goes on.

Image

This pic is for Warren #5 complete :mrgreen: , going to do #9 probably tomorrow night, and as for #8, its in the trash. I wish now i had bought the little bottle :oops: .

Image

A couple decisions that I have made:

Keep this a budget build by using a set of Duncan Design tele pickups I have laying around and a Strat style neck I have laying around as well. Use the money that I save for a Spindle Sander. I have a feeling I am going to have a real rough time without one, no pun intended.

Also, I am going to do a swimming pool route for the pickups as a weight reduction.

I am also going to do on/off slide switches for the pickups like they use to do on the old Teiscos.

Have not decided what to do about volume and tone yet however.

I get to go be superdad during the week, so I wont be able to finish cutting out the body until Saturday. Wouldnt trade it for all the guitar bodies in the world :D .

I am wondering, however, what would my next logical step be? I am leaning towards routing, that way if I screw it up beyond use, I didnt waste a lot of time doing something else. Does that make sense or is there something else I am overlooking?
Art Davila
Posts: 292
Joined: Wed Jan 23, 2013 12:07 am
Location: Chicago, Il U.S.A.

Re: First Build - Tulipcaster

Post by Art Davila »

One thing I bought for my small work area was 5 shelf shelving units, heavy duty 500 lbs per shelve and on 3 inch wheels so I can wheel them over uneven cement floor in basement.
I bought them at costco for under 100 bucks.
I have about 7 units all pushed in the corner, then when I need something I just roll the correct unit out and start working.
Most of my wood and parts are one one unit and most of my tools are on another, the rest have unrelated stored items like out of season clothes and xmas / halloween decorations etc.
These really allow me to tightly pack up stuff when not needed, and opens up usable floor space.
My table saw, workbench and band saw are all on lockable wheels, so everything is put away when not in use, but very stable when I need them.
I have a lot of experience on how "not" to do things.
Wayne Sutton
Posts: 17
Joined: Sat Sep 28, 2013 2:05 am

Re: First Build - Tulipcaster

Post by Wayne Sutton »

Art Davila wrote:One thing I bought for my small work area was 5 shelf shelving units, heavy duty 500 lbs per shelve and on 3 inch wheels so I can wheel them over uneven cement floor in basement.
I bought them at costco for under 100 bucks.
I have about 7 units all pushed in the corner, then when I need something I just roll the correct unit out and start working.
Most of my wood and parts are one one unit and most of my tools are on another, the rest have unrelated stored items like out of season clothes and xmas / halloween decorations etc.
These really allow me to tightly pack up stuff when not needed, and opens up usable floor space.
My table saw, workbench and band saw are all on lockable wheels, so everything is put away when not in use, but very stable when I need them.
Pretty close to what i am thinking, I have all my amps on a muscle rack, I think its rated for 100lbs per shelf. Its really handy so they are not taking up a whole walls worth of floor space we dont have. The only downside is I am too lazy to get the amps out when I have time to play so along with my electrics they are primarily collecting dust :lol: .

I could have the wall space for at least one, maybe two depending on the sizes they come in. I would like to make it so I can use that door again, when the weather is decent it would be nice to do as much of the build in the side yard so I dont have to worry about clean up :mrgreen: .
Wayne Sutton
Posts: 17
Joined: Sat Sep 28, 2013 2:05 am

Re: First Build - Tulipcaster

Post by Wayne Sutton »

UPDATE 5.0

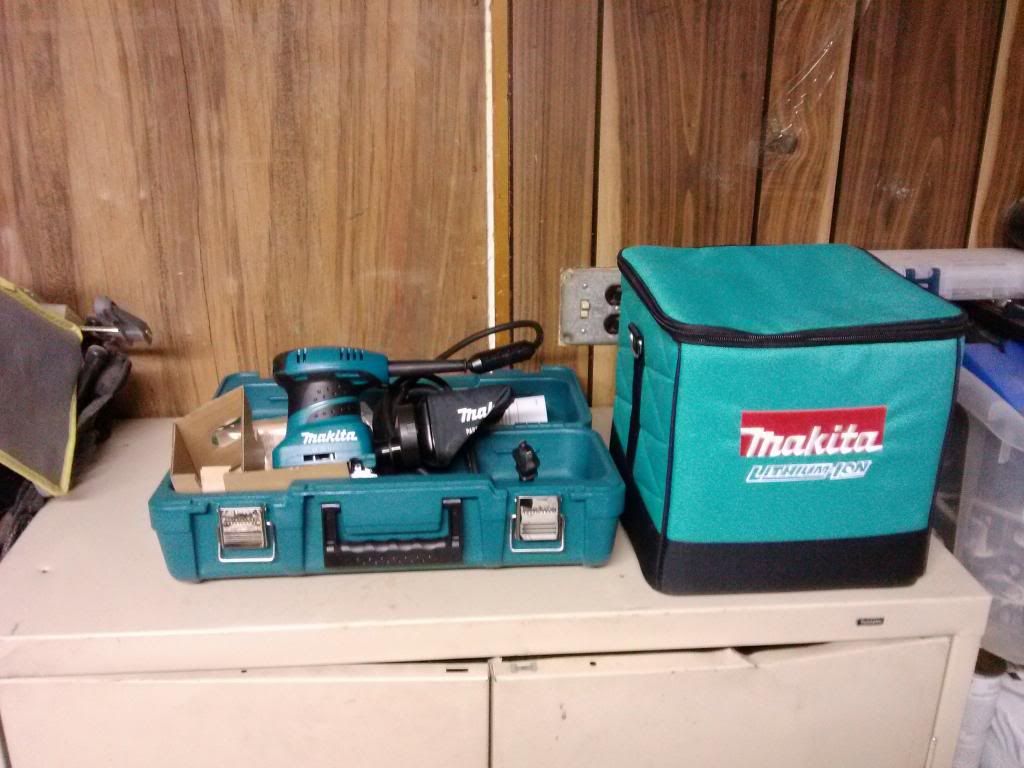
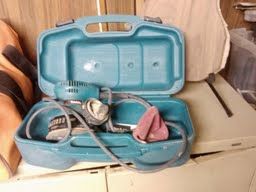
Where to start... Where to start... How about New Power Tool Day! I got a Makita 1/4 sheet sander, it came with the snazzy case. I realize an RO Sander is probably the better tool for job, I am on the hunt for a good used one or I will probably pick one up before the next build. (yeah, I havent finished my first build yet and and I am already thinking about the next build :mrgreen: ). I passed up a Hitatchi RO Sander at a pawn shop yesterday for $22. I went back for it today and it was gone already...

The Makita case sitting next to it, I bought to hold my Jigsaw. I have already tried loosing the blades multiple times so I just went ahead and bought a case for it so everything can be kept together. Of course the case cost 2x what the jigsaw cost me :lol:

Image

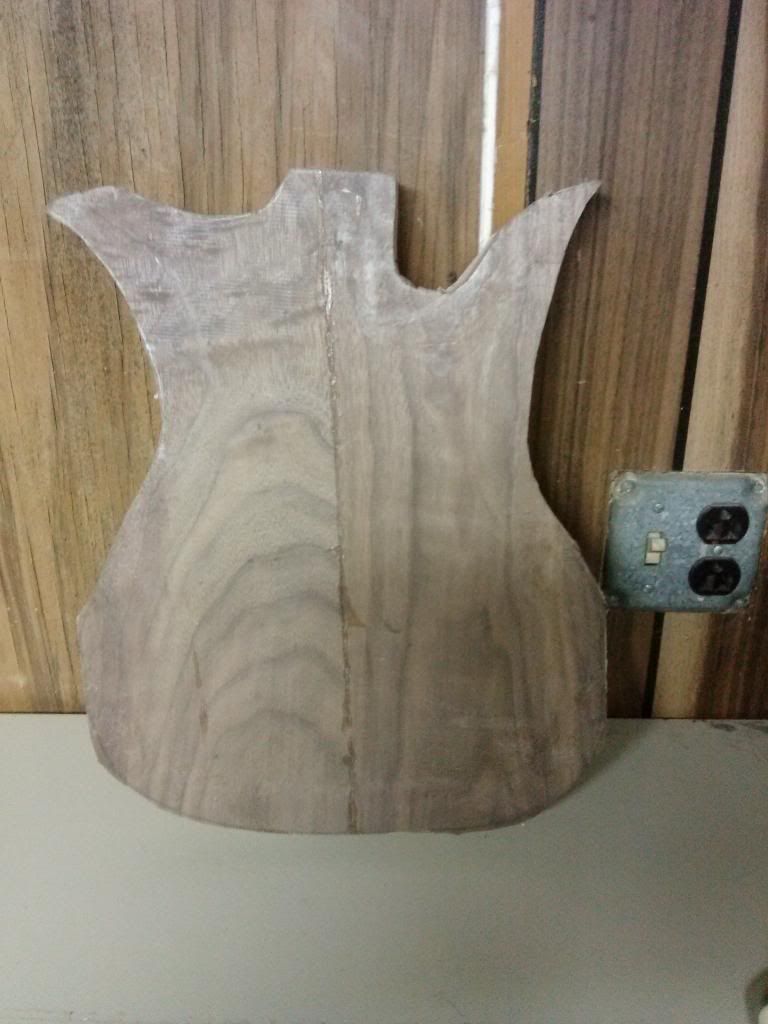
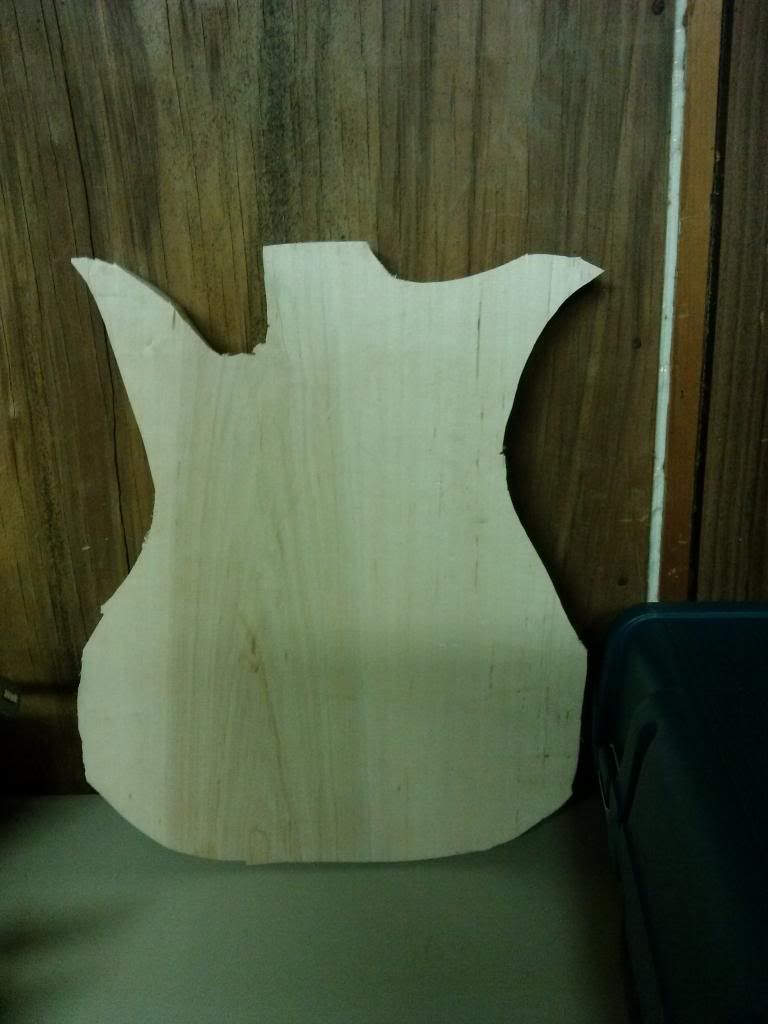
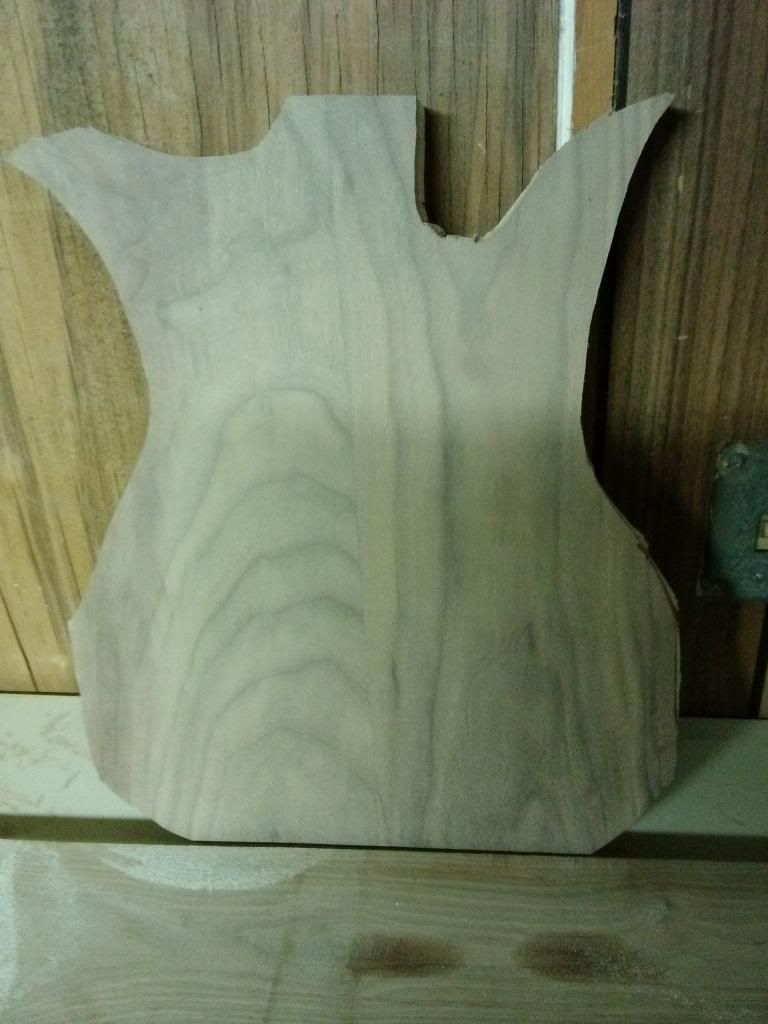
I got the body finished Jigsawed out, it is very rough. By the end of it I was saying all sorts of bad words because I couldn't find a way to properly secure it so it wouldnt vibrate the clamps loose and of course one of the times I got hit right on the top of the foot with one of the clamps :oops:. I did finally get it finished and I will be really considering investing in a bandsaw for the next build.

Front:

Image

Back:

Image

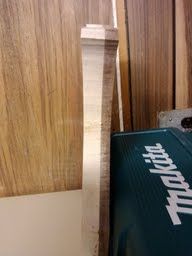
Side: I made a bit of a rookie mistake, I didnt think to see if the thickness of the wood was even. I may actually leave it like that to get some extra meat for the neck to bolt to. The body is thicker then the original Tulip guitars but thinner then your typical Tele.

Image

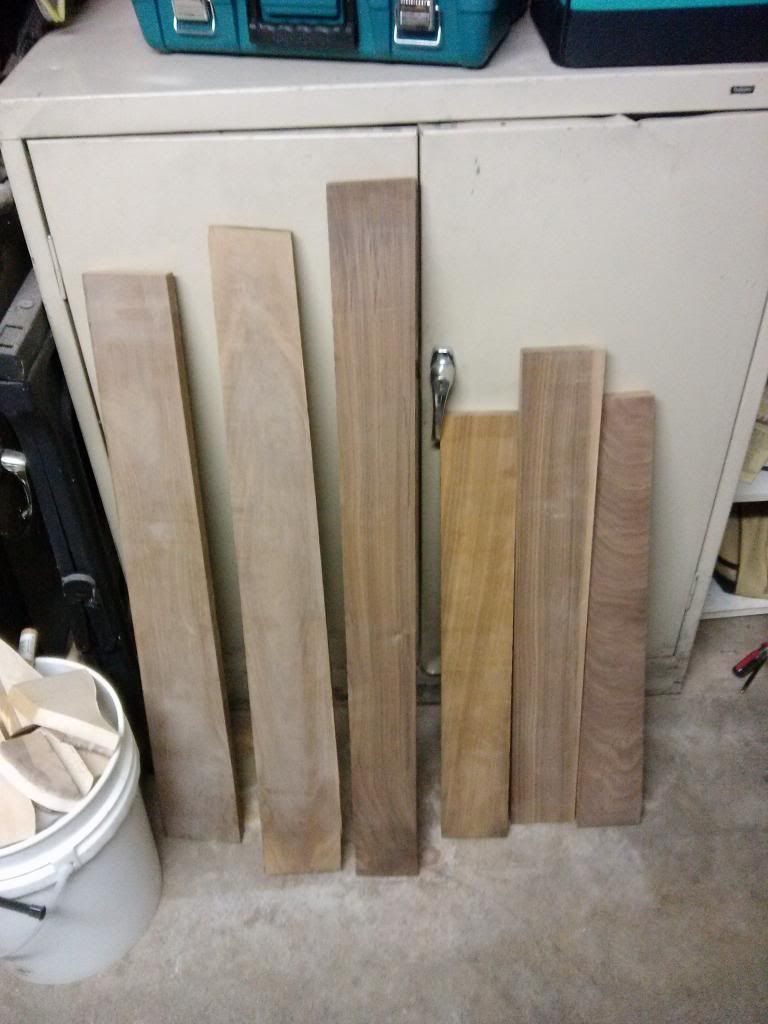
The other day I was thinking "what the hell, I'm gonna build a neck". Whats the worst that can happen? I screw it up and I end up buying something anyway. So today I ended up at the lumberyard and bought up a bunch of long, narrow black Walnut. Not sure if black walnut is a typical neck wood but I figure its dense and heavy so why not!? I figure I got enough for 2-3 necks in case I make a mistake. It costs much more to drive the 25 miles to the yard then it does to buy up extra wood.

Image

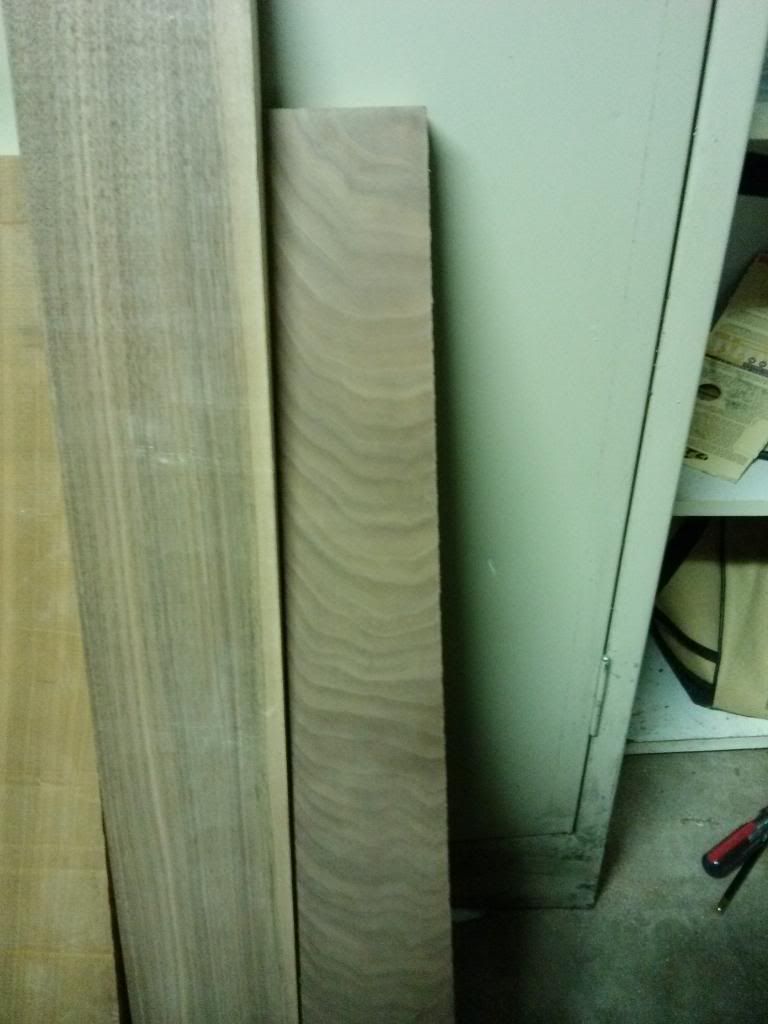
The board on the far right is the one I am hoping will be the end fretboard. It has a stunning grain.

Image

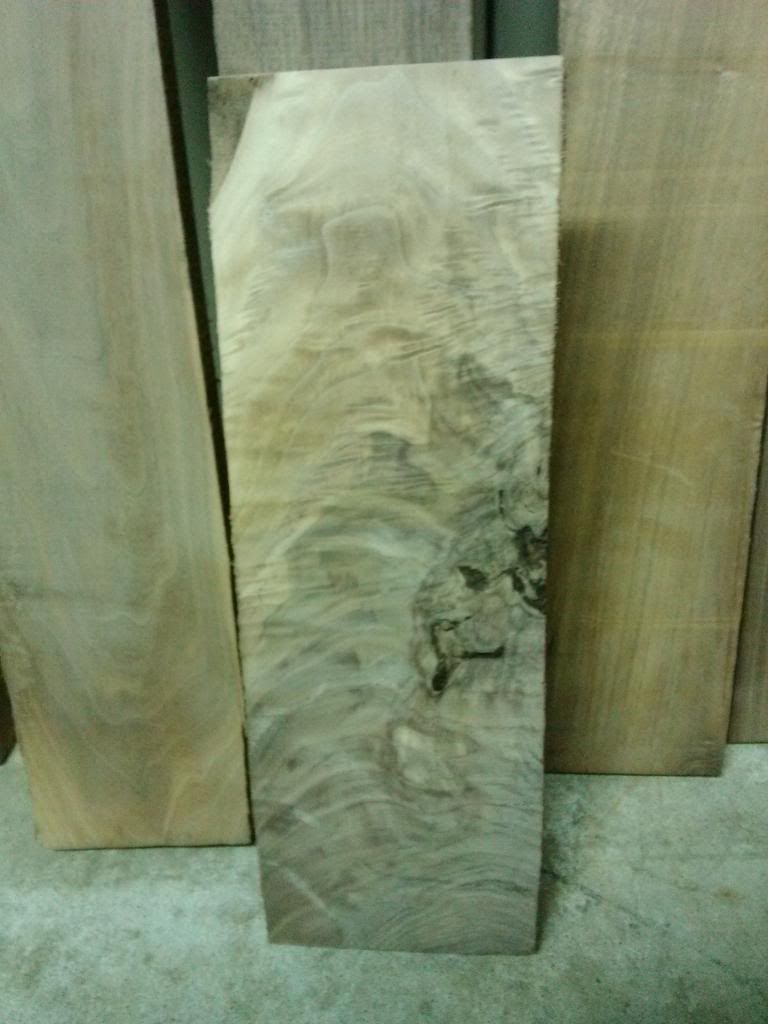
This is what I am hoping to make the headstock out of, it is quite stunning as well. I figure I should be able to get a Stratish or Teleish neck out of, maybe even two.

Image

Next step, I am going to try and get the top good and flat and try to figure out where to route things per Dsutton24's advice. That will be the goal for next Saturday along with hitting up the pawn shops and trying to find a good quality, good condition, hopefully inexpensive router. If I have to wait a few weeks and save up for a new one I will. I got enough to keep me busy for a while.

I also bought a Muscle Rack which can be made into either a workbench or a shelf. After the trouble I had clamping, I am going to opt for Bench. I will probably do that sometime this week since it will be a relatively quiet job.

Until next time...
Art Davila
Posts: 292
Joined: Wed Jan 23, 2013 12:07 am
Location: Chicago, Il U.S.A.

Re: First Build - Tulipcaster

Post by Art Davila »

Some of my tools a factory refurbish with full warranty and the cost can be very reasonable. I bought a referb r/o sander and a jig saw from of all places amazon, saved a bit of change over same model new.
Might help. I have seen several band saws on ebay but they were local pick up only, and were not in my area, so I passed but you could keep an eye open for deals there.

I don't use Craig's list as there is way to much contact with sellers and have been burned a few times with a long drive just to find out guy sells it while I am in route.
I have a lot of experience on how "not" to do things.
Wayne Sutton
Posts: 17
Joined: Sat Sep 28, 2013 2:05 am

Re: First Build - Tulipcaster

Post by Wayne Sutton »

Art Davila wrote:Some of my tools a factory refurbish with full warranty and the cost can be very reasonable. I bought a referb r/o sander and a jig saw from of all places amazon, saved a bit of change over same model new.
Might help. I have seen several band saws on ebay but they were local pick up only, and were not in my area, so I passed but you could keep an eye open for deals there.

I don't use Craig's list as there is way to much contact with sellers and have been burned a few times with a long drive just to find out guy sells it while I am in route.
Oh yeah, I have been trolling CPO's website quite a bit, I may end up getting a reburbished router, its something I really do not want to skimp on when it comes to quality and features. Sooner or later we will be remodeling our house, we bought it cheap because its like walking into the 70's :lol: . It would be nice to do our own moldings and maybe even tackle some cabinetry.

I too am very wary of CL, I have not been burned but there were more then a few times where I got the eeby-geebies talking to the other person.
Warren May
Posts: 246
Joined: Fri Aug 10, 2012 7:00 pm

Re: First Build - Tulipcaster

Post by Warren May »

Wayne, this looks a lot like my first "shop" which was a utility room off the carport. You can do a lot with a little space and a few tools. The neck isn't that difficult but you may need something to route the truss rod channel. I have a Workmate from the '80s that is still very sturdy, stores easily and I still use it all the time. Works great for a small closet shop like yours.

Instead of a spindle sander, you can save a lot of space and get a similar result by using a drill press with sanding drums. It will be easier to find a used drill press than a used spindle sander just make sure the quill is tight or you can tune it up.
Wayne Sutton
Posts: 17
Joined: Sat Sep 28, 2013 2:05 am

Re: First Build - Tulipcaster

Post by Wayne Sutton »

@ Warren - Do you by chance have a picture of how you have your workmate set up for a neck? I found this pic below (came off of google images but from mylespaul so I imagine its a neck of some sort). Looks like it would be good for a neck for sure. I do plan on getting a router table for bodies eventually.

Image

Now for the update...

Something interesting, the chunks of Walnut are the same exact thickness as a Squier Affinity neck. I however prefer a chunky neck so I went ahead and glued up two of the boards. I am going to put the trussrod in through the back and use maple for a skunk stripe. Also, in the picture a bottle of glue without a Gorilla on it :D.

I am thinking my first router jig will be for a neck. As of right now, I am not all that concerned with making cookie cutter bodies, but I would prefer to have my necks the same so I know what to expect.

I have to do some looking around to find a how-to on building a jig for a neck. If anyone knows of any tutorials, I would be grateful.

One last thing, earlier I wrote that the maple on the body was not an even thickness.... Well... It is lol. The picture must be an optical illusion because I measured it tonight and its identical throughout.

Image

Thanks for looking!
User avatar
Barry Daniels
Posts: 3223
Joined: Thu Jan 05, 2012 10:58 am
Location: The Woodlands, Texas

Re: First Build - Tulipcaster

Post by Barry Daniels »

Please tell me you surfaced those boards before glue-up.
MIMF Staff
Wayne Sutton
Posts: 17
Joined: Sat Sep 28, 2013 2:05 am

Re: First Build - Tulipcaster

Post by Wayne Sutton »

Dood ran them through the planer for me since I dont have one. Its as good as it can get without throwing money at a planer/jointer. I need a good quality router right now more then a planer or jointer. I havent quite figured out what I am going to do to get it to the right thickness yet, guessing a router and a lot of sanding. I got more time then money right now so, if it takes a while, it takes a while and if it doesnt work out about $3 worth of wood and a couple hours.
Wayne Sutton
Posts: 17
Joined: Sat Sep 28, 2013 2:05 am

Re: First Build - Tulipcaster

Post by Wayne Sutton »

I got the body sanded flat this morning. The grain match is not all that great but I dont think it will matter by the time I have all the stuff on it.

Image

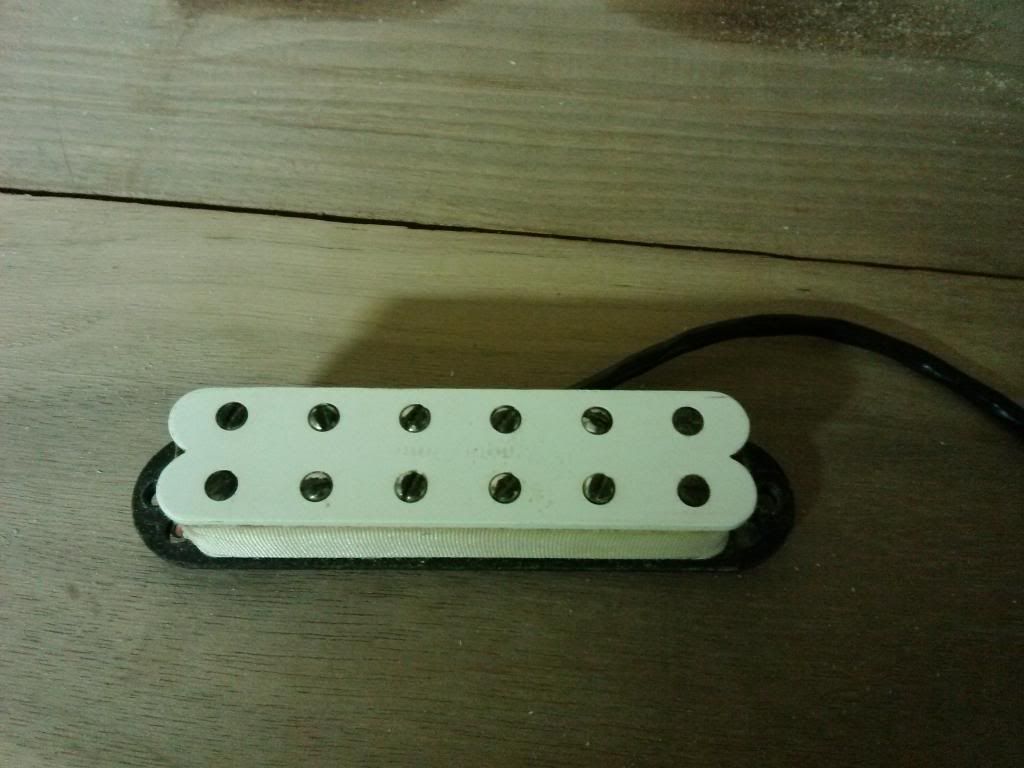
For the pickup, I have this Seymour Duncan Duckbuster laying around. I am thinking just the single pickup roughly in the middle position, slanted. Sort of like the Dano U-1's.

How complicated I get on the wiring will depended upon how good or bad my routes look lol. If I can get some good clean routes then I plan on no pickguard and a simple volume and tone with maybe a push/pull for coil split. If the routes look horrible and I need to go with a pickguard, then I will probably get creative with slider switches. My goal at this point, (and I have been changing my mind on this build more then my undies) is to not need a pickguard. I am starting to think the weight of this body is not going to be an issue.

Image

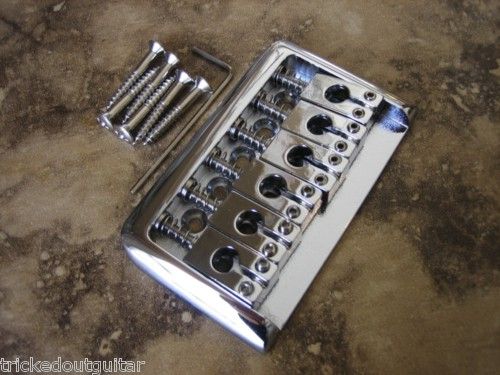
I also ordered the bridge off of fleabay as well, but a known seller that I have bought a bunch of stuff for in the past. Their stuff is usually surprisingly good for the cash. Once I get it I will give my thoughts on it.

Image

I have a used router coming but I am not going to announce an official NRD until I have it in my hands, can look it over and make sure it works. I bought it off of fleabay, it looks real clean, has all the goodies, and the price was right so I thought it was a safe buy. If not it will be a massive headache, but at least I will be able to get my money back...

Finally, dad gave me this :mrgreen:.

Image

He is an electrician and is always bringing home goodies that were going to end up in the trash. I mentioned that I wanted to build a pup winder and he brought me this. So hopefully in the near future there will be a pickup winder thread. I am certain that it will not be finished in time for this build, but my goal is to be able to wind my pups for the next. I wonder if my wife will realize her sowing machine has disappeared? muhuhaha

Until Next Time...
Wayne Sutton
Posts: 17
Joined: Sat Sep 28, 2013 2:05 am

Re: First Build - Tulipcaster

Post by Wayne Sutton »

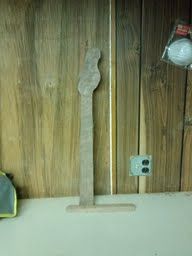
I had some time today so I thought I would get the rough cut on the neck done. I will tell yea, it was a real pita to cut 2" Black Walnut with a jigsaw :lol:. But its done, it looks quite rough but I didnt go inside the lines at all! I am thinking I need to get the neck done, or at least shaped right, before I start routing the body.

Image

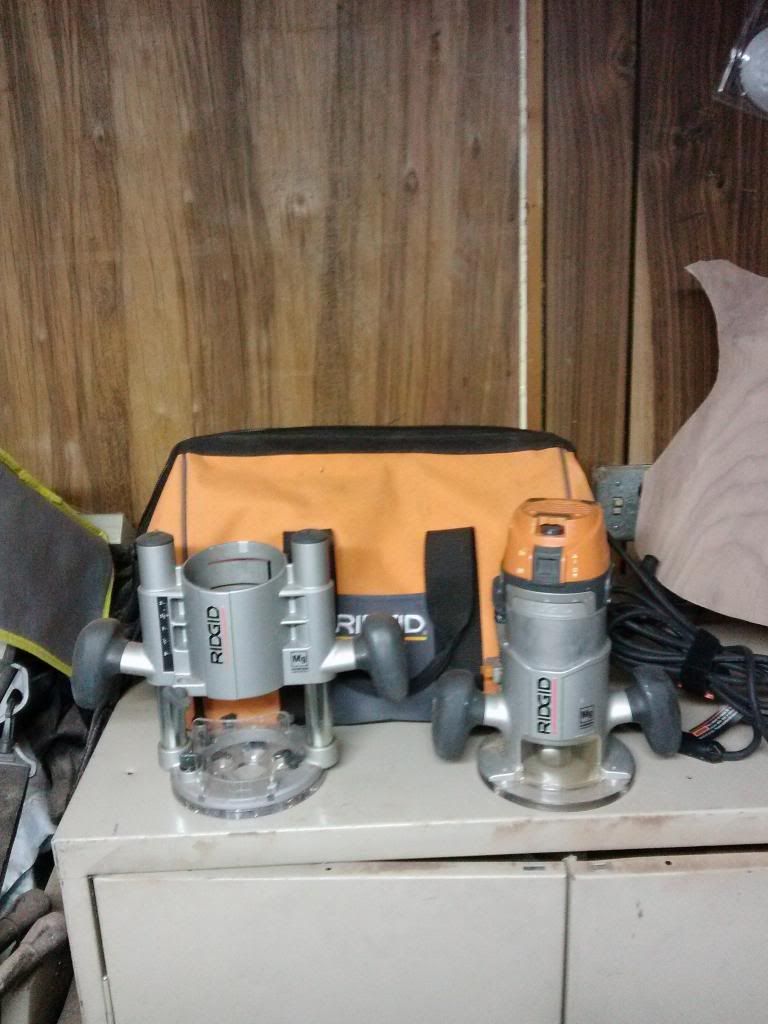
My Router came Saturday! Used but works good, has all the goodies, and came with a bag to boot! It seems like Porter Cable 690 and the Bosch 1618 are the go-to routers but this was a fraction of the price and I have always heard good things about Rigid. My first impressions is that its built like a brick poo house and is heavy, so I don't think its going to be a cheap piece of junk :mrgreen: .

Image

Also, while Pawn Shoppin' I stumbled upon a really good deal on a Makita Random Orbital Sander with the case so I had to pick it up as well. Even if I already had one, it still would of followed me home.

Image
Keith VanDen Heuvel
Posts: 14
Joined: Mon Jan 09, 2012 12:21 am

Re: First Build - Tulipcaster

Post by Keith VanDen Heuvel »

I see that you have already cut your neck profile out so this is a little late, but you will find it much easier to route the truss rod channel on a blank of wood that has parallel sides and cut the profile out afterward. It would also be easier to thickness the wood if you have some extra bits on which to clamp the wood down - if you plan on using a router anyway.

Just my two cents. Looking forward to see how it all turns out.
Wayne Sutton
Posts: 17
Joined: Sat Sep 28, 2013 2:05 am

Re: First Build - Tulipcaster

Post by Wayne Sutton »

Keith VanDen Heuvel wrote:I see that you have already cut your neck profile out so this is a little late, but you will find it much easier to route the truss rod channel on a blank of wood that has parallel sides and cut the profile out afterward. It would also be easier to thickness the wood if you have some extra bits on which to clamp the wood down - if you plan on using a router anyway.

Just my two cents. Looking forward to see how it all turns out.
You know, I never thought of that. I have more wood laying around, but the thought of cutting another neck out with a jigsaw makes me want to puke :lol: . Cutting that Walnut is hard on the ole elbows and wrists. I will keep that in mind when I build necks in the future.
Warren May
Posts: 246
Joined: Fri Aug 10, 2012 7:00 pm

Re: First Build - Tulipcaster

Post by Warren May »

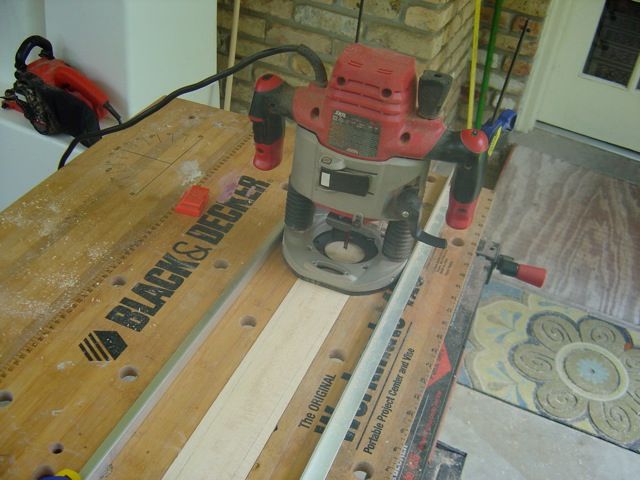
As Keith said, it might be easier to cut the truss rod channel first. But you can still do it with the blank you have. You can make a special jig easily enough and use wedges with double sided tape to mount the neck. My picture isn't very clear but it's basically a box built out of scraps. The router runs on 2 rails that have the curvature of the truss rod for mounting from the rear of the neck. Stops keep it going the correct distance from the heel and headstock. I use a quarter inch bit and several passes. Hardest part is lining up the holes from the headstock to the channel. Simple but effective and cheap to build out of scraps.
Attachments
sled.gif
Post Reply

Return to “Solid-Body and Chambered or Semi-Solid Electric Guitars and Bass Guitars”