Arnt Rian's Norway Spruce processing
Posted: Thu Jan 12, 2012 4:10 pm
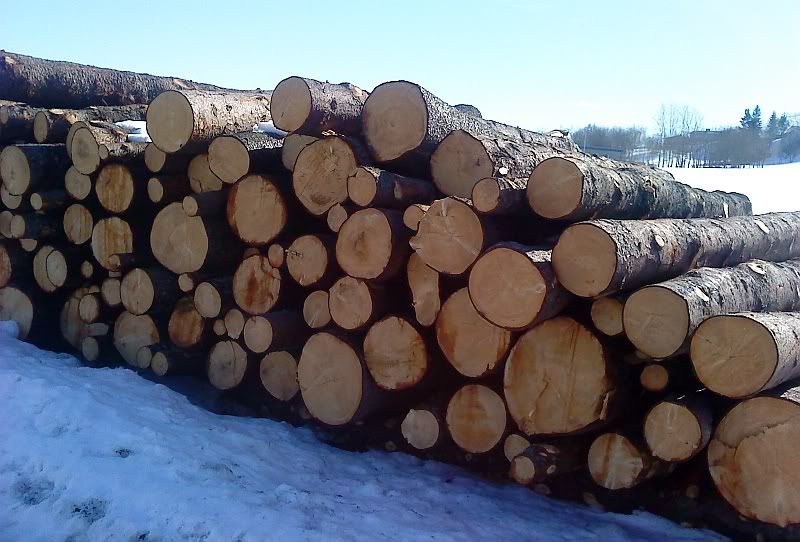
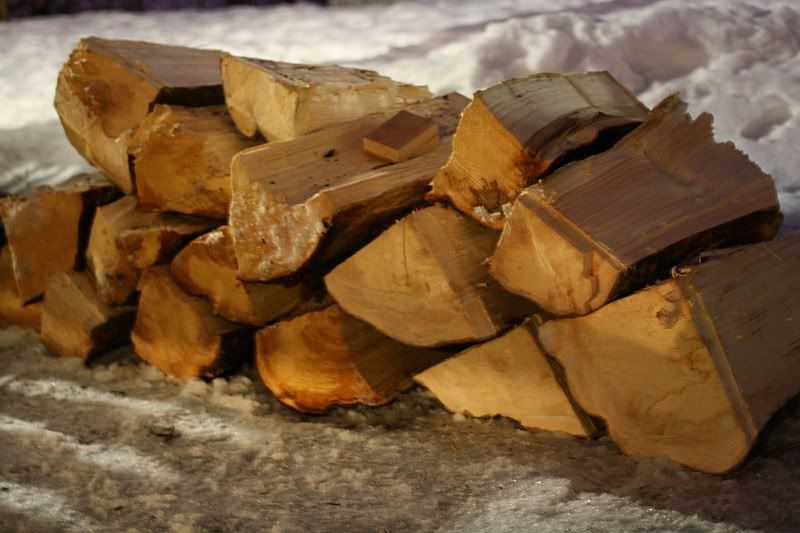
My farmer neighbour’s been chopping down trees again. Here are some of the logs, all of them are Norwegian spruce, picea abies, which is the most common wood by far up here. Yeah, I know what you're thinking, but as you see, most of these are not large enough for guitar tops... Bummer!
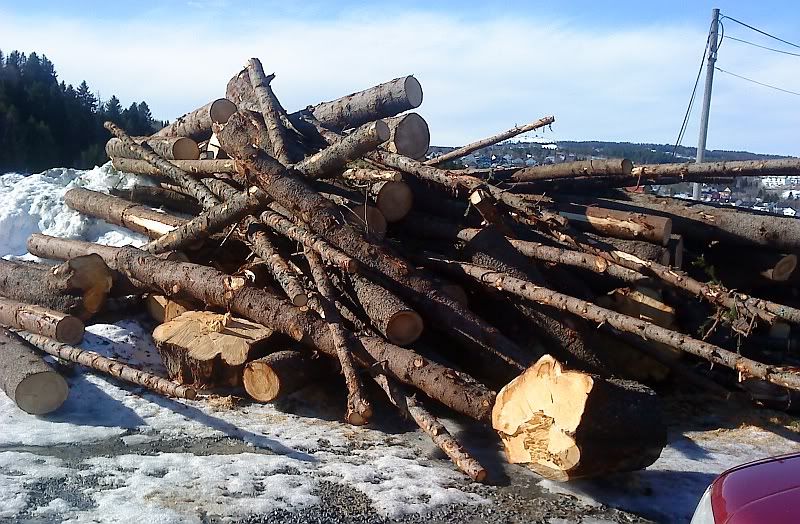
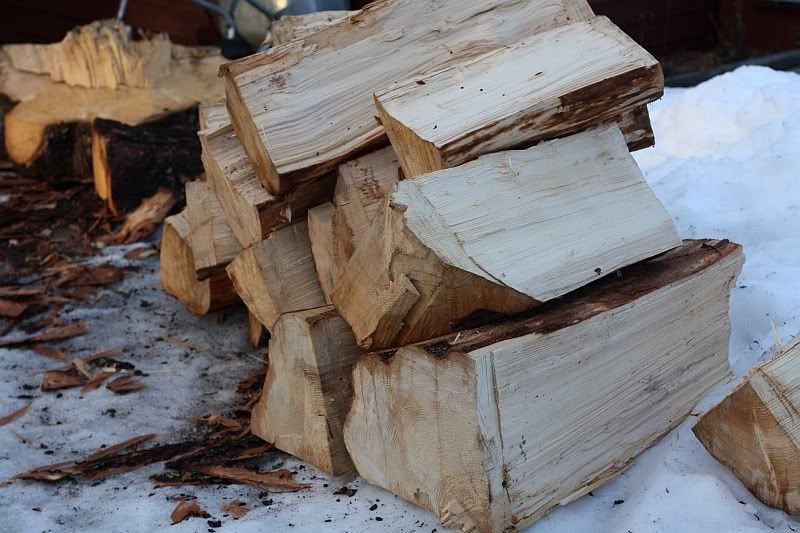
The scrap pile. Its all going to become firewood, but my neighbour told me to pick whatever I wanted.
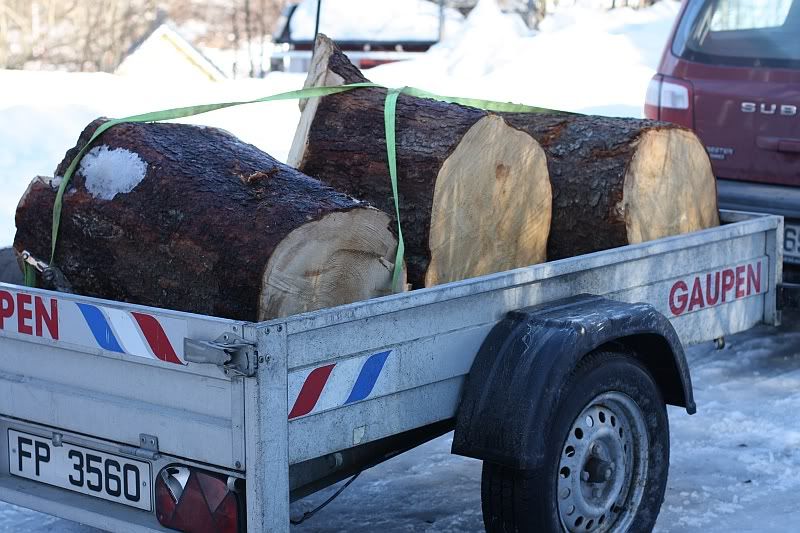
I found these 3 smaller, but nice looking ones. They were about 45-60 cm (18-24”) across, so on the small side for two piece guitar tops, but fine for mandolins.
Here's the biggest one I found, and was also probably the nicest looking one. The pith wasn't dead center, but fairly close
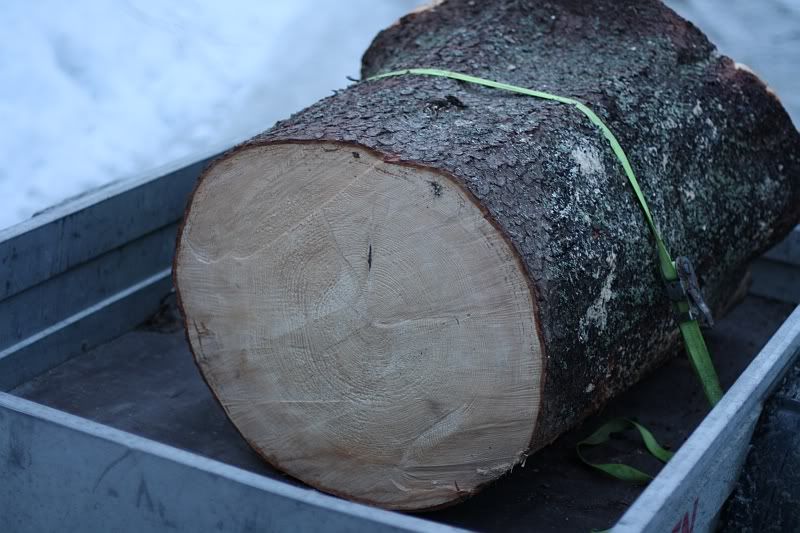
This is the small end, the other end was over 70 cm across after I trimmed off the bottom. Big enough for guitar tops, IF everything else is as one can hope...

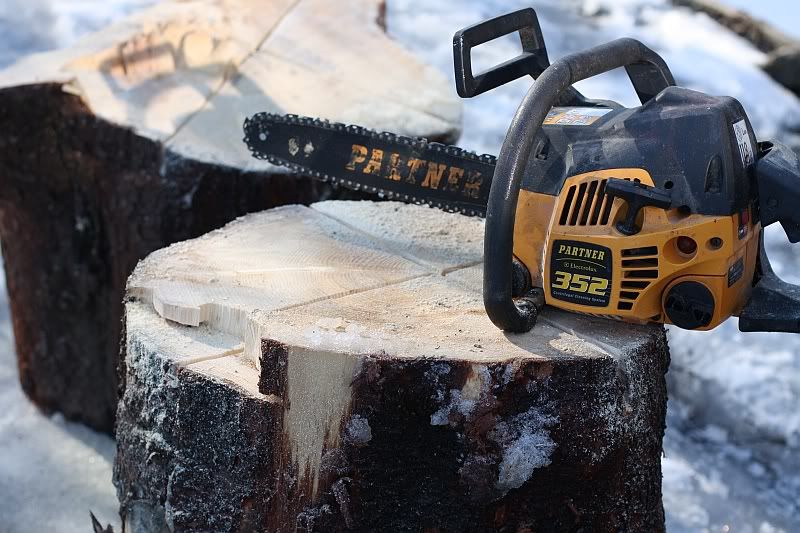
First step in the processing of this wood is the quartering. I started by sawing two kerfs in a cross, like so
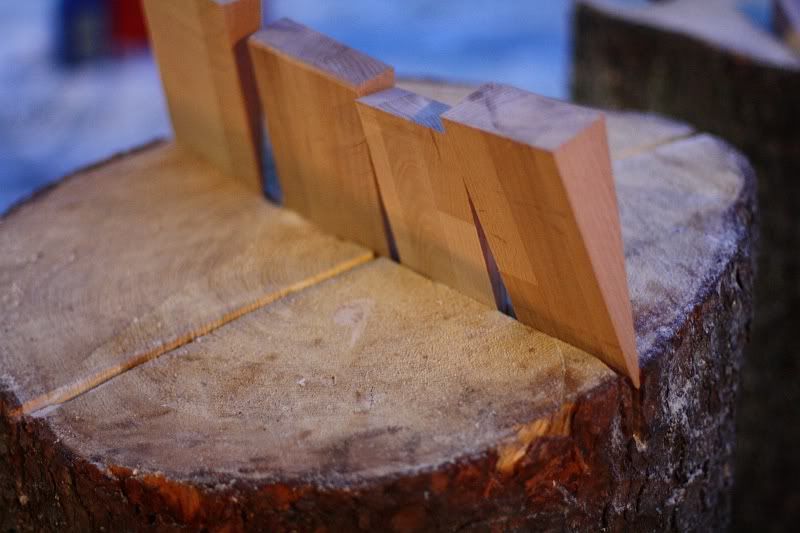
Then, I inserted a row of wooden wedges into the kerf. Any ol’ hardwood will work I guess, I used some beech I had, which will hold up quite well to this kind of (ab)use
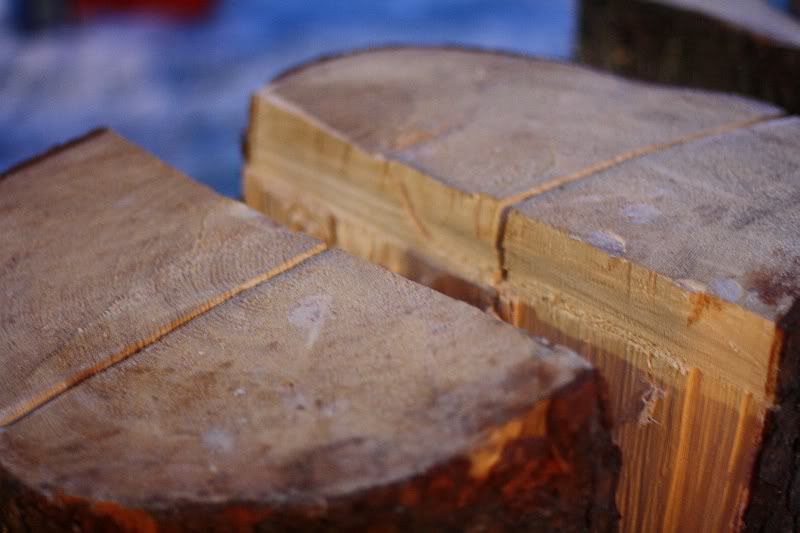
After a few whacks with the sledge, I got this...
...and after a few more, I had a nice pile of quartered logs. As you can see, much of this wood is quite uneven, so that’s firewood. A few of the pieces are straight and clear however, so hopefully I will get some tops. We shall see...
The next day I removed the bark
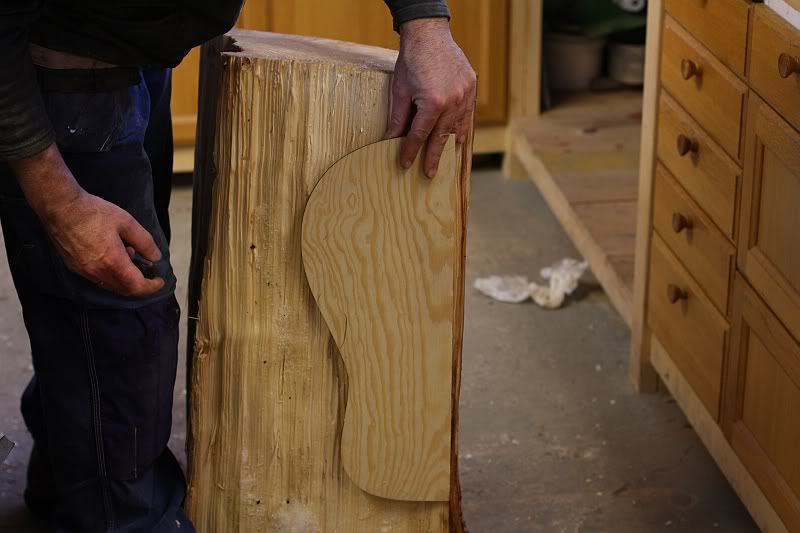
Yesterday I began resawing. Here’s one of the quarters from the largest log, the dread template looks small by comparison.
Here’s how I planned the cuts on that log; mostly flat top sets, but a couple of arch tops, and two mando sets as well.

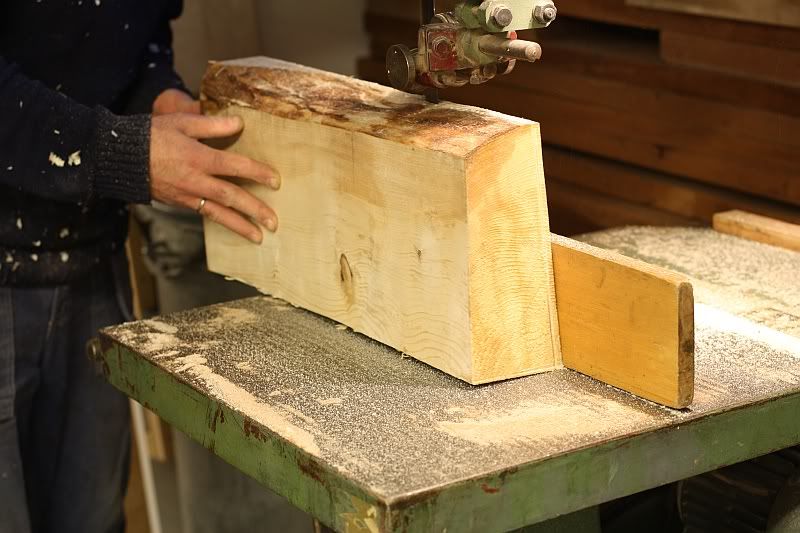
After splitting out the flat top sections, I trued up two sides on the jointer. I have 12” one, so its just big enough for this job

Slicing it up...
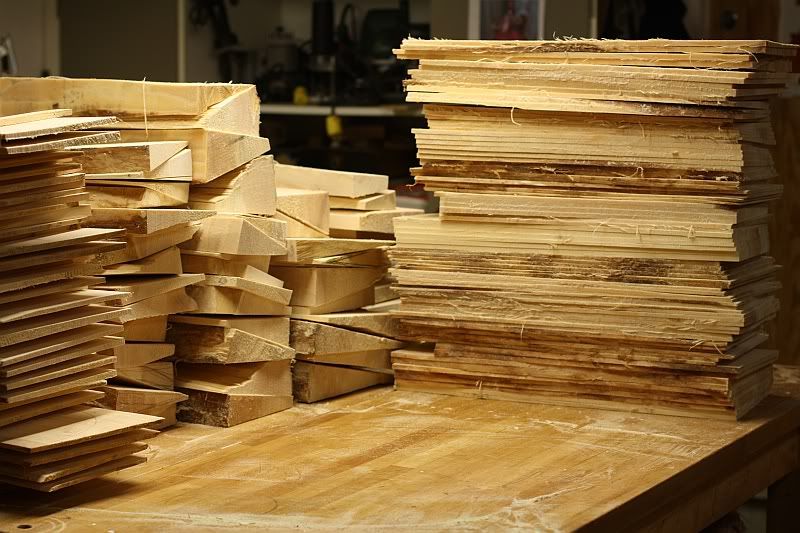
...over and over, until the pile outside was gone, and I had this stack on the bench. I counted 53 sets of guitar tops, about half as many mando sets, a few arch top sets of various sizes, and some brace wood.
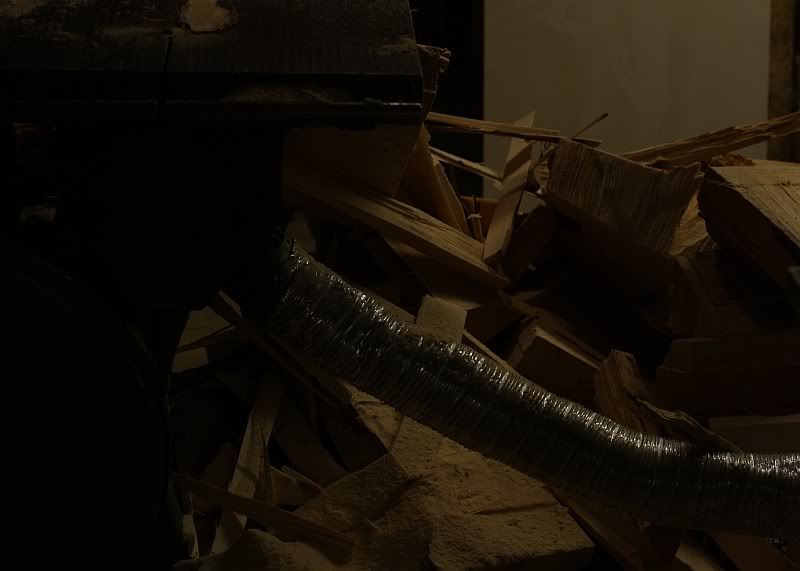
And of course, a whole lot of this stuff!
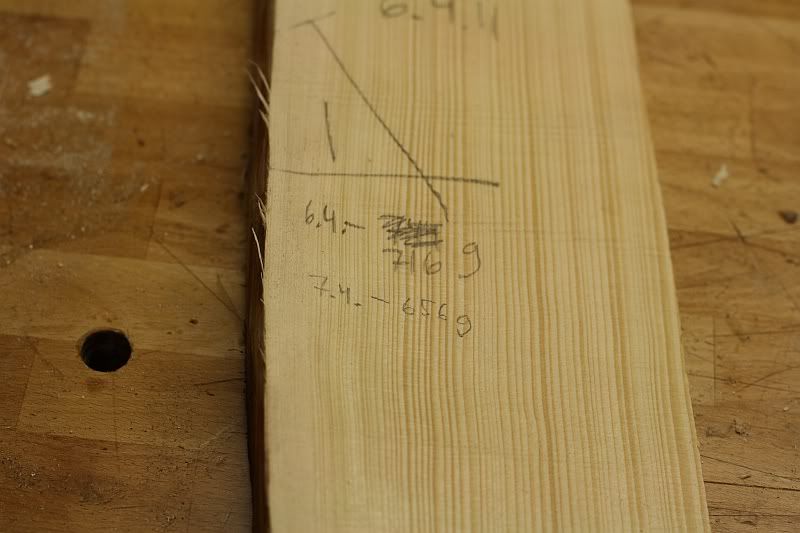
I’ll be weighing this wood over the next weeks, to see how long it takes for it to stop losing weight, which is when it has reached it equilibrium moisture content. Here’s a piece I weighed after I cut it last night, and again tonight. As you can see, its already gone from 716g to 656g
BTW, the appearance of the wood was all over the place, but much of it was what you would call “cosmetically challenged” by most tonewood vendor’s standards. Others sets were fine, but none were “master grade”, or even AAA. Here’s a fairly typical set, with a jumbo guitar shape. As you can see, the grain is quite wide towards the outside edge, but tight in the middle. The darker color is where the wood is all wet, and it will fade away as the wood dries, at least that is what has happened in the past.

A little later...
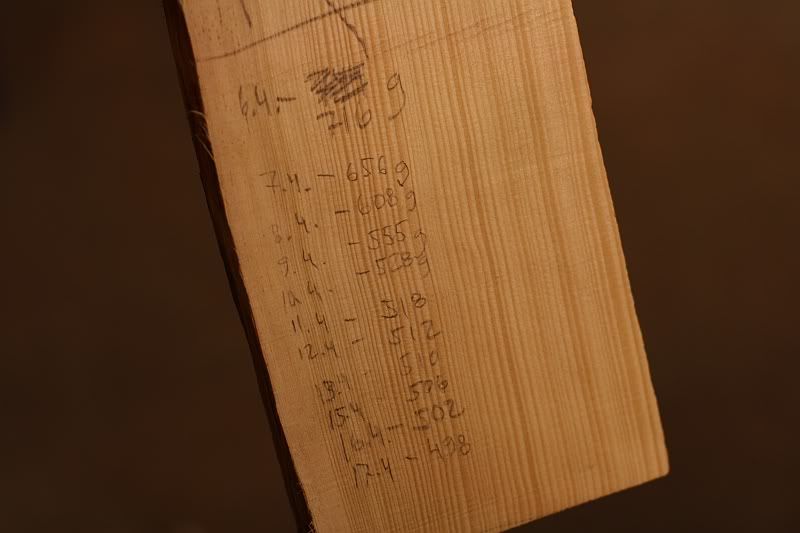
Like I mentioned in a previous post, I would measure a sample piece from this wood, to monitor how the drying process. This piece has been kept in the humidity controlled part of my shop, at about 45% RH. Most of the other wood is stored in the non controlled area, so it is most likely not as dry yet. But as you can see, this wedge shaped piece, which is big enough for a half arch top mandolin top, has almost reached its equilibrium moisture content already. In fact,most of the water was gone after the first few days. I like to keep my wood around for quite a while before I use, but as you can see, it is possible to use it quite soon after processing. This piece isn't quite ready yet, but its getting there quickly.
The scrap pile. Its all going to become firewood, but my neighbour told me to pick whatever I wanted.
I found these 3 smaller, but nice looking ones. They were about 45-60 cm (18-24”) across, so on the small side for two piece guitar tops, but fine for mandolins.
Here's the biggest one I found, and was also probably the nicest looking one. The pith wasn't dead center, but fairly close
This is the small end, the other end was over 70 cm across after I trimmed off the bottom. Big enough for guitar tops, IF everything else is as one can hope...
First step in the processing of this wood is the quartering. I started by sawing two kerfs in a cross, like so
Then, I inserted a row of wooden wedges into the kerf. Any ol’ hardwood will work I guess, I used some beech I had, which will hold up quite well to this kind of (ab)use
After a few whacks with the sledge, I got this...
...and after a few more, I had a nice pile of quartered logs. As you can see, much of this wood is quite uneven, so that’s firewood. A few of the pieces are straight and clear however, so hopefully I will get some tops. We shall see...
The next day I removed the bark
Yesterday I began resawing. Here’s one of the quarters from the largest log, the dread template looks small by comparison.
Here’s how I planned the cuts on that log; mostly flat top sets, but a couple of arch tops, and two mando sets as well.
After splitting out the flat top sections, I trued up two sides on the jointer. I have 12” one, so its just big enough for this job
Slicing it up...
...over and over, until the pile outside was gone, and I had this stack on the bench. I counted 53 sets of guitar tops, about half as many mando sets, a few arch top sets of various sizes, and some brace wood.
And of course, a whole lot of this stuff!
I’ll be weighing this wood over the next weeks, to see how long it takes for it to stop losing weight, which is when it has reached it equilibrium moisture content. Here’s a piece I weighed after I cut it last night, and again tonight. As you can see, its already gone from 716g to 656g
BTW, the appearance of the wood was all over the place, but much of it was what you would call “cosmetically challenged” by most tonewood vendor’s standards. Others sets were fine, but none were “master grade”, or even AAA. Here’s a fairly typical set, with a jumbo guitar shape. As you can see, the grain is quite wide towards the outside edge, but tight in the middle. The darker color is where the wood is all wet, and it will fade away as the wood dries, at least that is what has happened in the past.
A little later...
Like I mentioned in a previous post, I would measure a sample piece from this wood, to monitor how the drying process. This piece has been kept in the humidity controlled part of my shop, at about 45% RH. Most of the other wood is stored in the non controlled area, so it is most likely not as dry yet. But as you can see, this wedge shaped piece, which is big enough for a half arch top mandolin top, has almost reached its equilibrium moisture content already. In fact,most of the water was gone after the first few days. I like to keep my wood around for quite a while before I use, but as you can see, it is possible to use it quite soon after processing. This piece isn't quite ready yet, but its getting there quickly.