Page 3 of 4
Re: The Hossenfeffer Bass
Posted: Mon Jan 16, 2017 9:38 pm
by Alexander Higgins
At this point, I feel like ive got nothing to lose by trying to make to pre cut nut work, if its a bust, I'm out a few bucks. Given how crazy tall this is, I figured on taking some meat off the bottom first to get into the ballpark before I file the slots any deeper. I CA glued the strip of brass that popped off the bottom back on, looks like I'll take most but not all of it getting it roughly the right height. If understand correctly, I could take metal off the bottom face until the pre cut slots are a little talker than first fret, then file slots deeper as needed for minimal spacing above the fret, then file top of nut down to leave about 1/2 of string thickness above nut.
I'm a little chicken or egg first confused on process. I haven't leveled the frets yet, and want to do that on a home made Vinson /Stewmac style neck jig that simulates string tension. In order to do that under string tension, I need the nut to be at least close to correct height, so i figured that should happen first. Once the frets are leveled, I can set neck relief, which should give more accurate readings about nut height. Have I got the sequence right here?
Re: The Hossenfeffer Bass
Posted: Mon Feb 06, 2017 1:25 pm
by Alexander Higgins
OK....
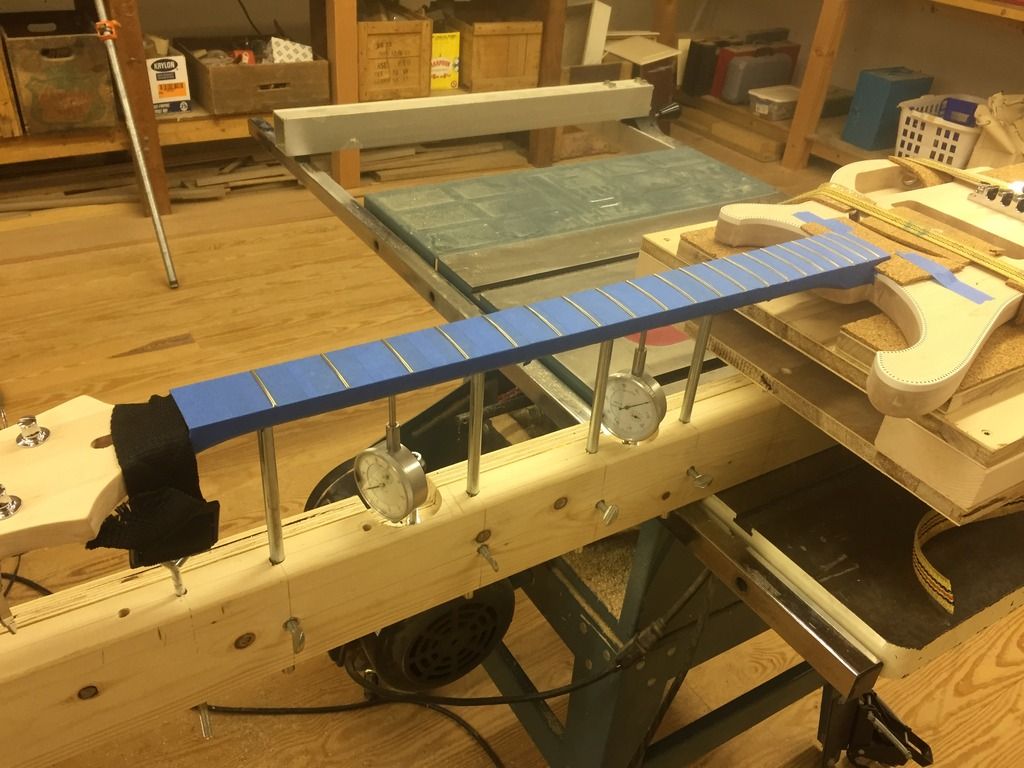
So anybody interested in building a Vinson clone of the Stewmac neck jig may find this interesting, if not, a real yawner.
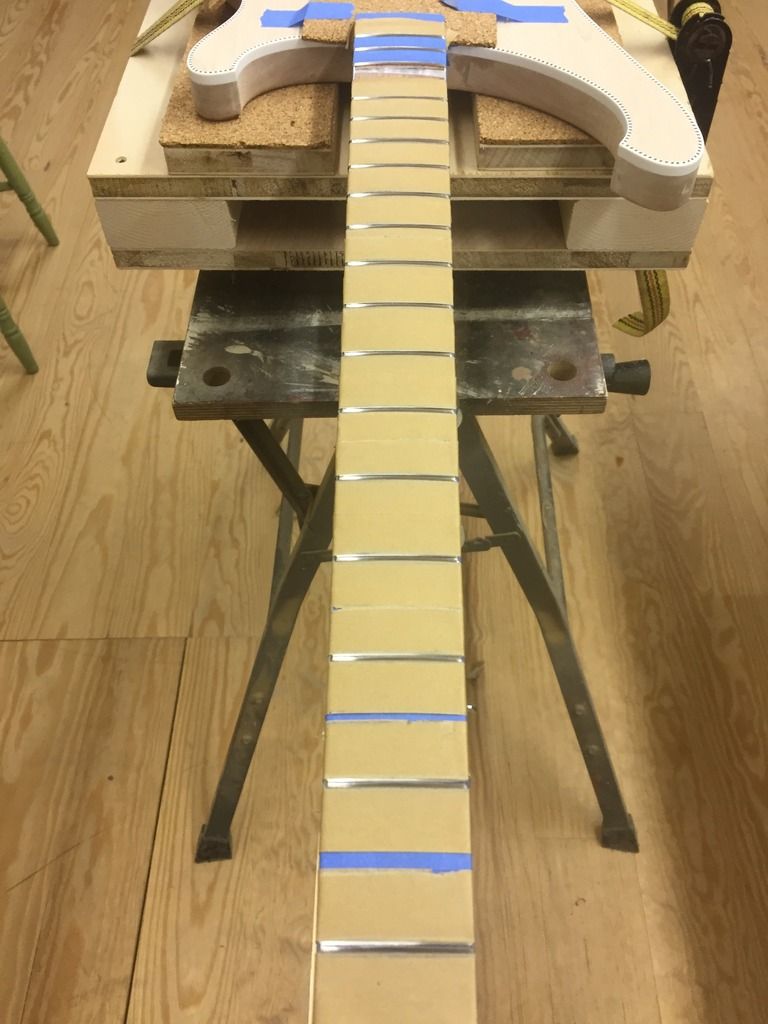
I found the 2x4 beam suggested in the Vinson plans is just not stiff enough, so I glued and screwed on a 3/4" plywood piece, seemed to really make it rigid. I also found the dimensions for the various holes given in the Vinson docs are optimized for guitar, not bass, so I had to move things around a bit.
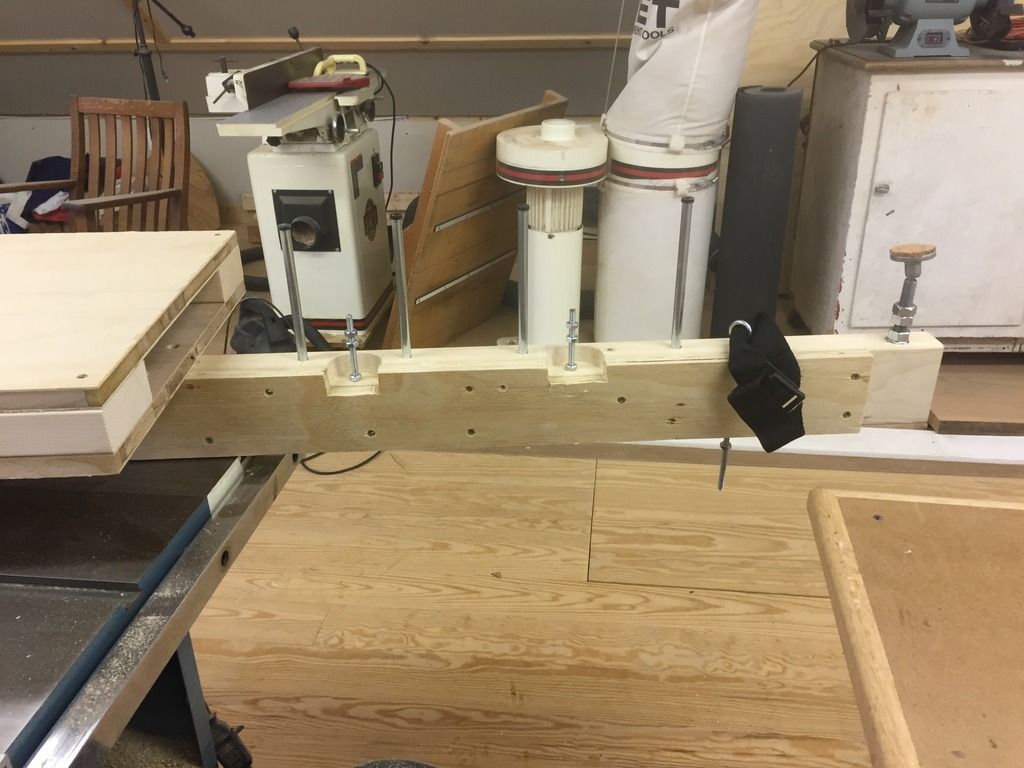
Got the neck close to dead flat in work position with a slotted straightedge and truss rod adjustments.
Rotated to playing position, neck adjusted dead flat with slotted straightedge, dial guages zeroed out. I also set the headstock jack to light contact so I wouldn't lose track of how much deviation happened when I tilted it back to level.
Got the expected deviation due to gravity that pushed dials out of zero. So far everything as predicted. The Vinson plans have you doing angle bends in the threaded rod supporting the dial guages, which is completely unnecessary, you just rotate them on the rod until they align with neck center.

Neck adjusted back to zero using the headstock jack. I found the nut strap wasn't needed at all, the higher fret indicator was only .001" out with the lower one at zero. Just the act of bringing the support rods up to contact with the neck killed that last .001".
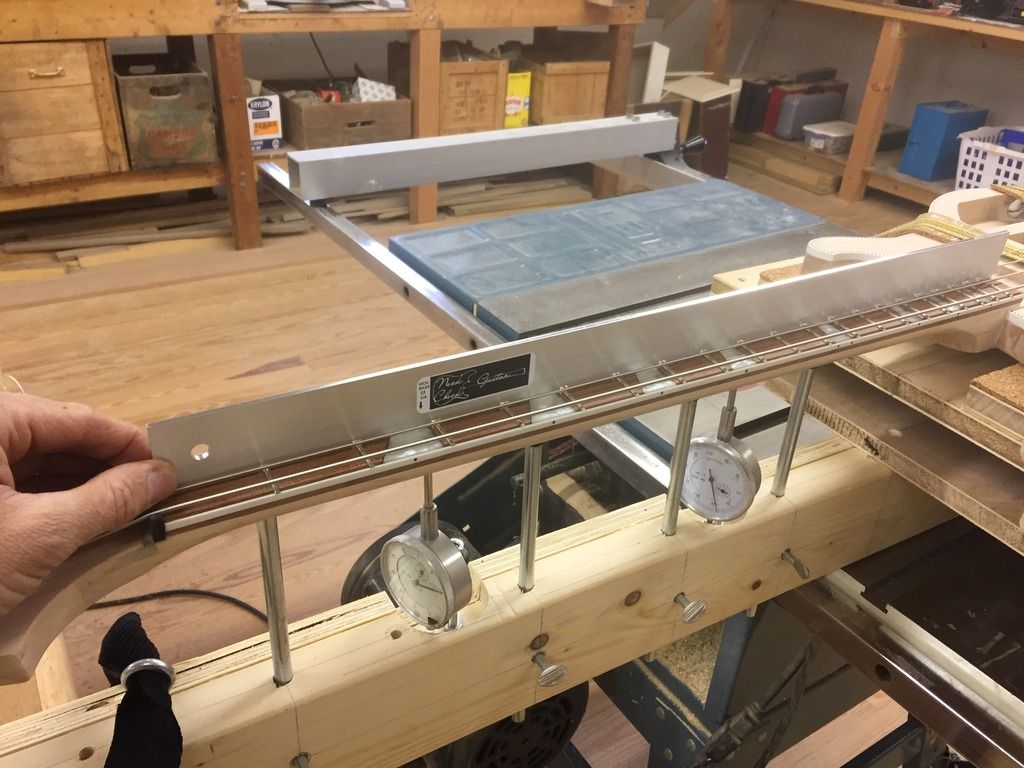
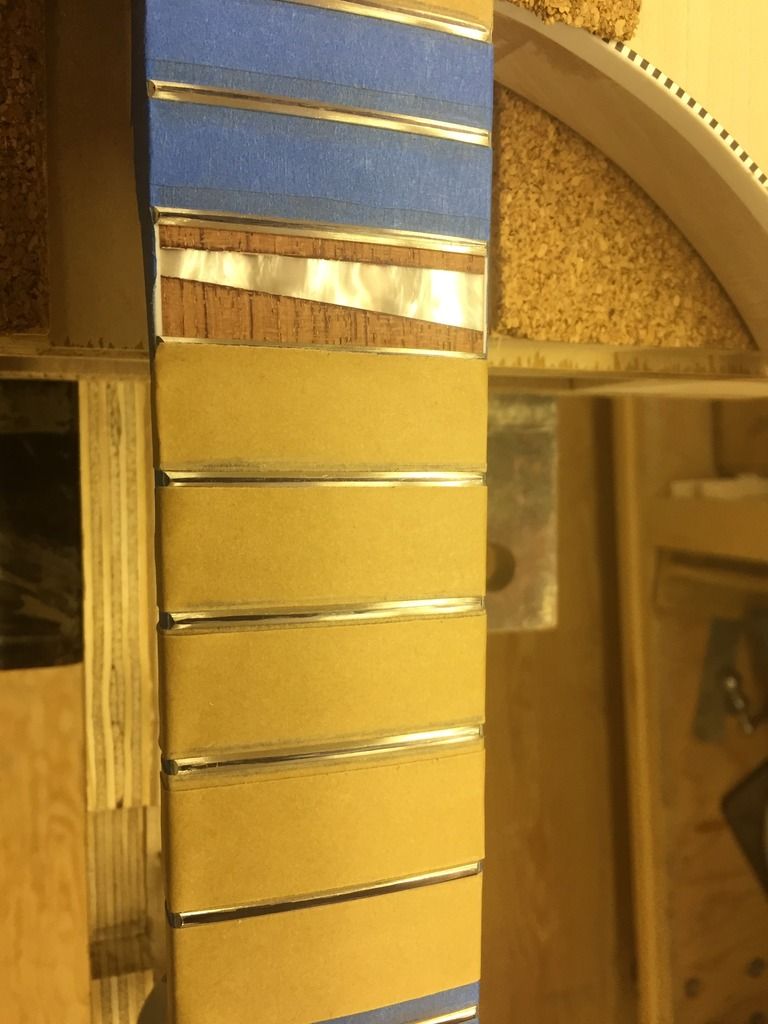
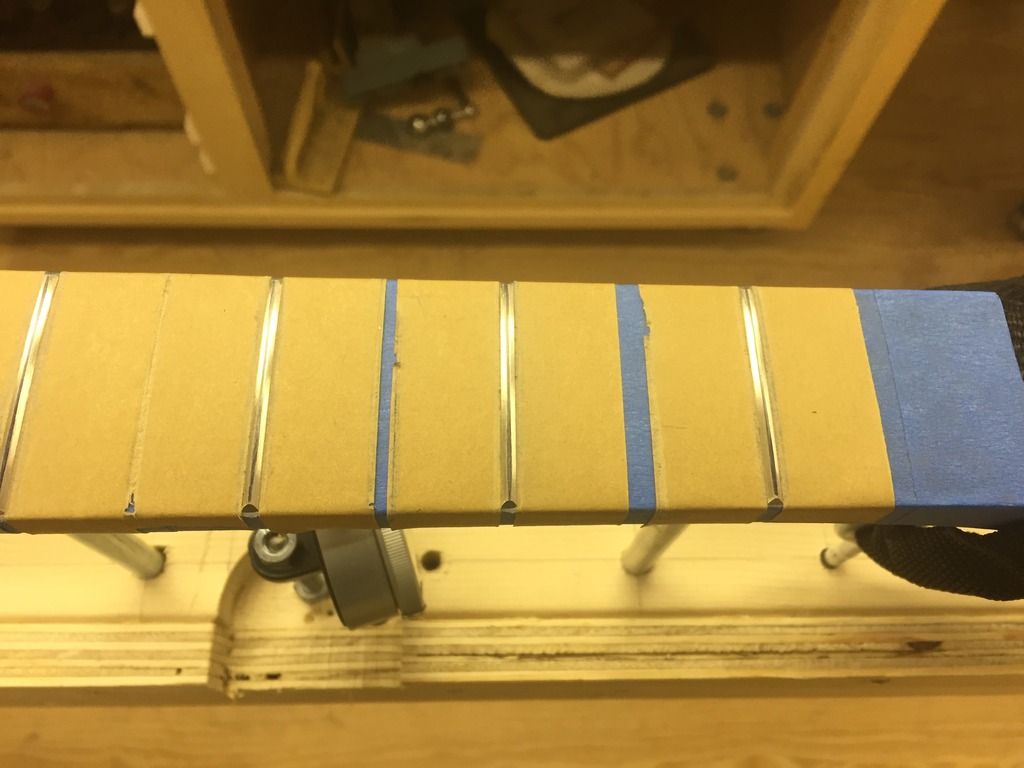
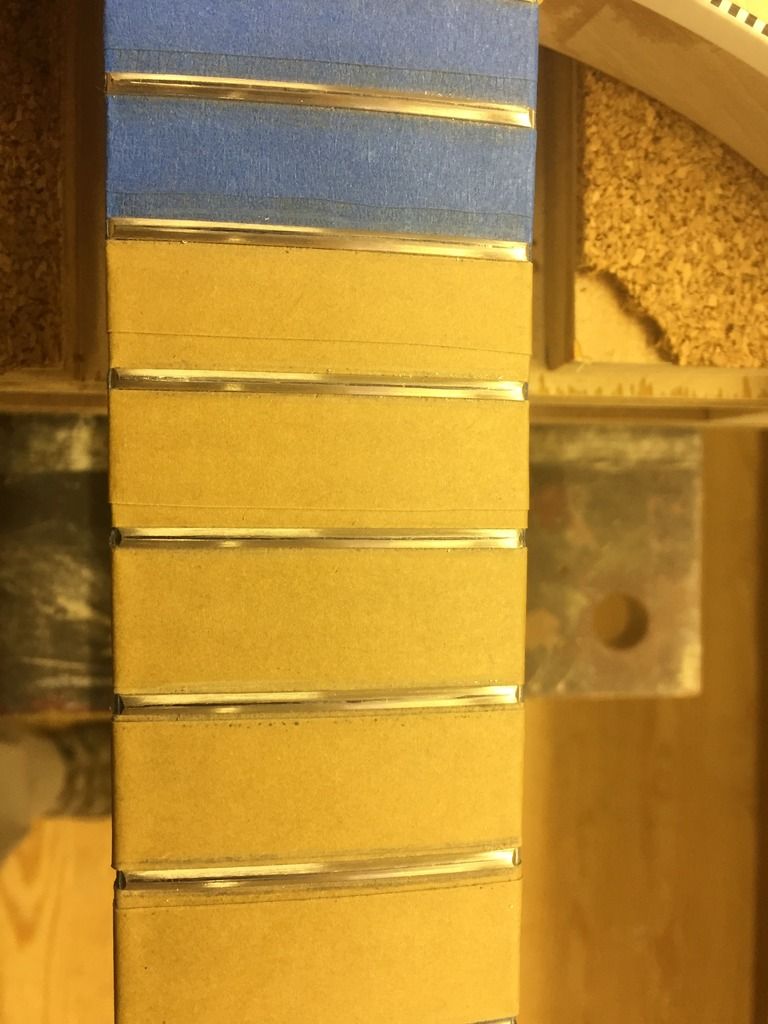
Neck and FB taped up
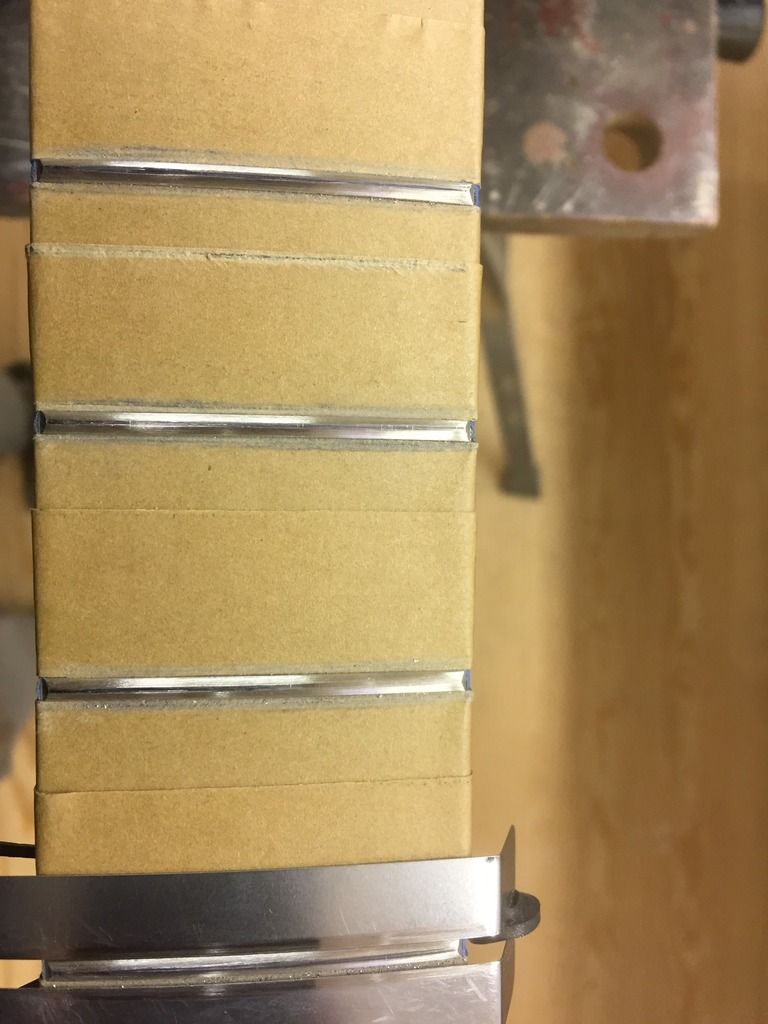
Using 320 grit on my aluminum sanding beam, got the frets leveled. I think I probably took off a little more than necessary at the lower frets chasing the last bit of marker on the upper fret ends due to my inexperience, but I'll be the guy cursing my name when a refret eventually becomes necessary. Should I worry about the last bit of marker still showing on the upper fret ends? I really don't want to take any more metal off the rest if this is overkill. Any point in adding a little "fallaway" on the last frets for a bass? I do like to bend strings, but don't spend a ton of time at the Dusty End.

Re: The Hossenfeffer Bass
Posted: Mon Feb 06, 2017 2:22 pm
by Barry Daniels
I don't worry about a bit of marker here or there, especially if it is on upper frets as the action is much higher and there is correspondingly less chance of fret buzz in this area. A bit of fall away is fine but not absolutely necessary. You see fall away more often on acoustic guitars where it is a natural phenomenon but it can be added to electric guitars for the beneficial effects.
Re: The Hossenfeffer Bass
Posted: Mon Feb 06, 2017 2:41 pm
by Alexander Higgins
Thanks Barry, that eases my mind a lot. I guess I'll move on to fret crown and polish!
Re: The Hossenfeffer Bass
Posted: Mon Feb 06, 2017 3:39 pm
by David King
What ever you do now Alexander, I can guarantee you that the fret plane will look different in a year or two's time so don't be surprised if you have to do the fret leveling all over again as the neck wood gives in gradually to the continuous strain of string tension and the slightly imbalanced strain of the truss rod.
Re: The Hossenfeffer Bass
Posted: Mon Feb 06, 2017 6:03 pm
by Alexander Higgins
David King wrote:What ever you do now Alexander, I can guarantee you that the fret plane will look different in a year or two's time so don't be surprised if you have to do the fret leveling all over again as the neck wood gives in gradually to the continuous strain of string tension and the slightly imbalanced strain of the truss rod.
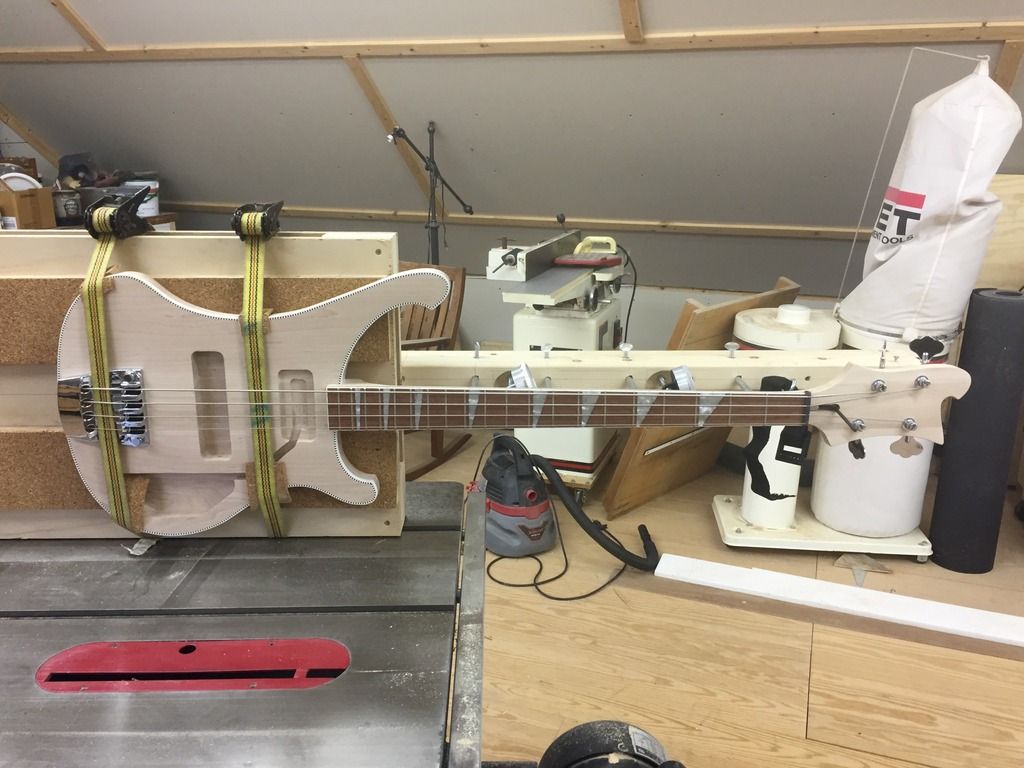
I guess I can live with that, this is my first fret job, so I'm not expecting perfection. Using the neck jig at all was just trying to stack the deck in my favor as much as possible. Having got the frets level, the flats are scored with 320 grit scratches. Should I continue with the sanding beam in finer grits to polish that out now? That would take a tiny bit more metal off.
Re: The Hossenfeffer Bass
Posted: Mon Feb 06, 2017 6:44 pm
by Peter Wilcox
Alexander Higgins wrote:Having got the frets level, the flats are scored with 320 grit scratches. Should I continue with the sanding beam in finer grits to polish that out now? That would take a tiny bit more metal off.
Crowning the frets will get rid of most of that. Then final individual fine sanding and polishing will do the rest - at least, that's the way I do it.
Re: The Hossenfeffer Bass
Posted: Tue Feb 07, 2017 1:46 am
by David King
Those 320 scratches in the tops will be there at the end so no harm in going over the tops with 800 now. You're talking maybe .0005" more to get them out.
Re: The Hossenfeffer Bass
Posted: Mon Feb 13, 2017 11:21 am
by Alexander Higgins
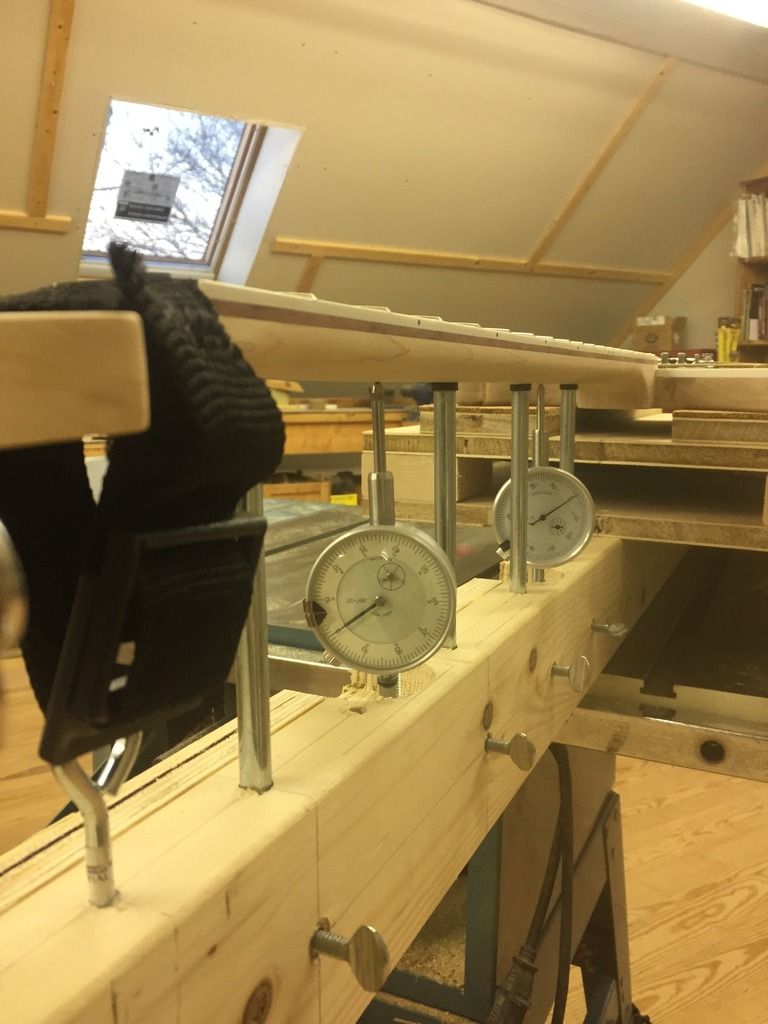
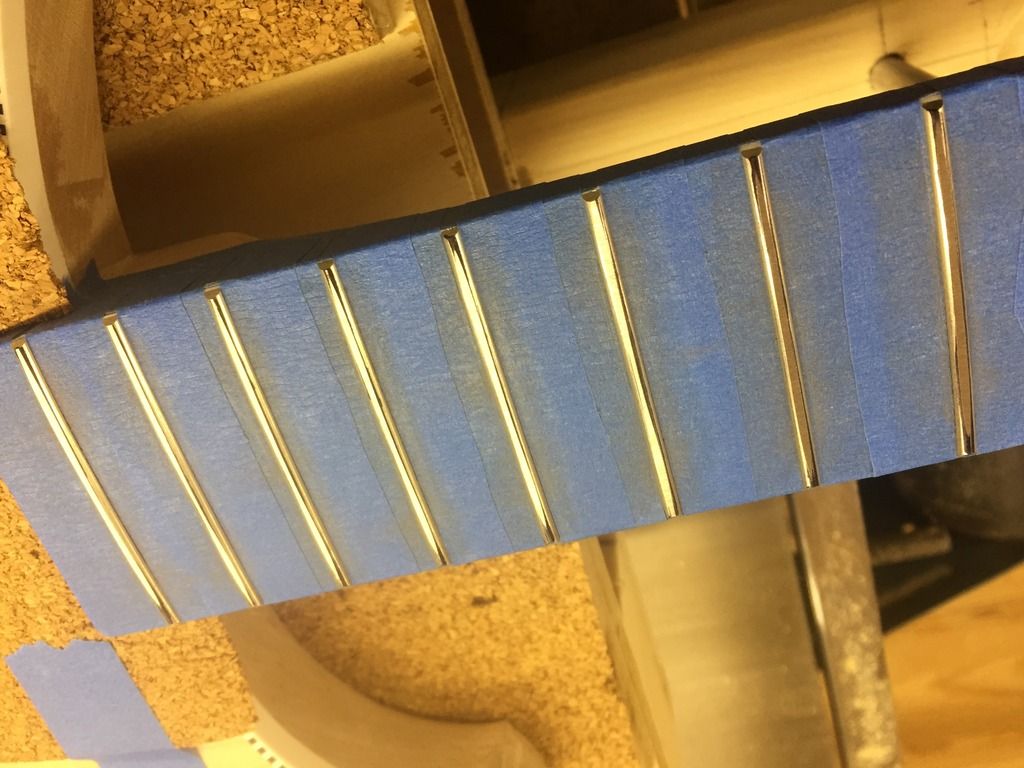
Frets leveled with 320 grit, also went over them a couple passes with 600 grit to get some of the scratches out.
I got this set of crowning tools cheap on Ebay, and it shows, had to polish up the "safe" edges of the three corner files a little before use, a bit crudely ground. Otherwise they seemed to work fine. I figured I'd try the traditional approach first and see how it went:
First fret crowned, first lesson learned: blue painters tape is useless for this. Hopefully didn't scratch the fingerboard too bad. I need to get some of the Stewmac fingerboard guards. For this round, I put on another layer of the thick binding tape, which seems to work as long as i keep an eye on it while filing. I wasn't sure how fine the remaining black marker line should be after crowning, I can always go back and narrow them a little more.
A few more in progress. I used the large three-corner file to get bulk of the work done, learning the "rolling in" technique as I went, then sanded out those file marks with the coarse and fine sanding stick belts, seemed to work pretty well.
Getting a crowned fret line of remaining black marker like this by the time I got down to the last few frets. Does this look right, or do I need to go even thinner? If so, I'll probably just use the fine grit sanding stick to narrow the crown.
Re: The Hossenfeffer Bass
Posted: Mon Feb 13, 2017 2:00 pm
by Barry Daniels
Go much finer. I leave the thinnest line possible, maybe 5 to 10 thousandths wide.
I like my Stew-Mac diamond crowning file. Much less sanding required.
Re: The Hossenfeffer Bass
Posted: Mon Feb 13, 2017 6:03 pm
by David King
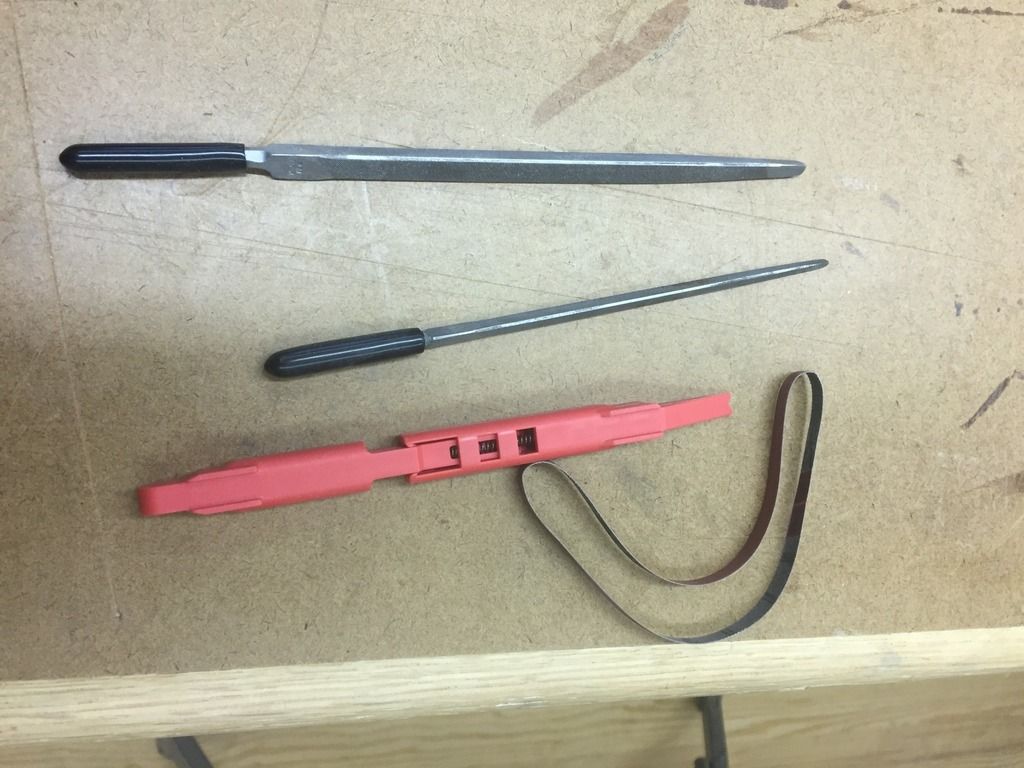
You can also improvise a crowning file by just carving or filing a round groove of the proper radius into the long edge of a piece of hardwood that's 3/16" thick x 3" long and an inch wide. I put tiny strip of double sided tape on each side and wrap a sandpaper strip around and over the groove. I move the sand paper over by 3/16" increments as it gets dull. I start with 320 and progress to 1200. I'll finish off by polishing with 00000 steel wool using an eraser mask to protect the board.
The virtue is that you can get the precise radius the frets require. No matter how many fret files I buy there are always frets that don't quite fit the profiles.
Re: The Hossenfeffer Bass
Posted: Mon Feb 13, 2017 9:01 pm
by Alexander Higgins
Thanks for comments. I suspected I needed to go farther in narrowing the line, I'll keep working them finer. I've seen that technique with grooving a piece of wood before, the sanding stick actually has a notch filed in the tip already, they are also available with no notch in case you want to file a custom size. I found it pretty easy to use, and the belt just advances around it as you use it. They make micromesh size grits for these, but crazy expensive through Stewmac. Any tips as to best practice for polishing and rounding over fret ends appreciated. If I find myself doing a lot more instruments, I'll suck it up.and get a Stewmac crowning file.
Re: The Hossenfeffer Bass
Posted: Tue Feb 14, 2017 1:00 am
by Gordon Bellerose
Like Barry, I am doing enough fret crowning to make the stewmac diamond file worthwhile.
It is pricey for sure, but I find it cuts the time spent crowning by at least half, probably more.
I also made a little tool for sand paper. I have a piece of hardwood about 3/8 thick and 6 inches long x 1 1/2 inches wide, with a 1/8 groove cut into angled end cuts.
I cut the grooves with a small round file. The angled cuts on the end gives me a good working angle. I cut the sandpaper into thin strips, and simply hold it on the stick as I work.
Re: The Hossenfeffer Bass
Posted: Thu Feb 16, 2017 10:20 pm
by Greg Martin
Great build love all the pics. I just sold all my ricky parts off after saving them for a build for over ten years.haha now you post all the good build pics lol. Oh well ill live vicariously through this thread for a while. I do love the RIC bass.
Re: The Hossenfeffer Bass
Posted: Tue Mar 07, 2017 1:30 pm
by Alexander Higgins
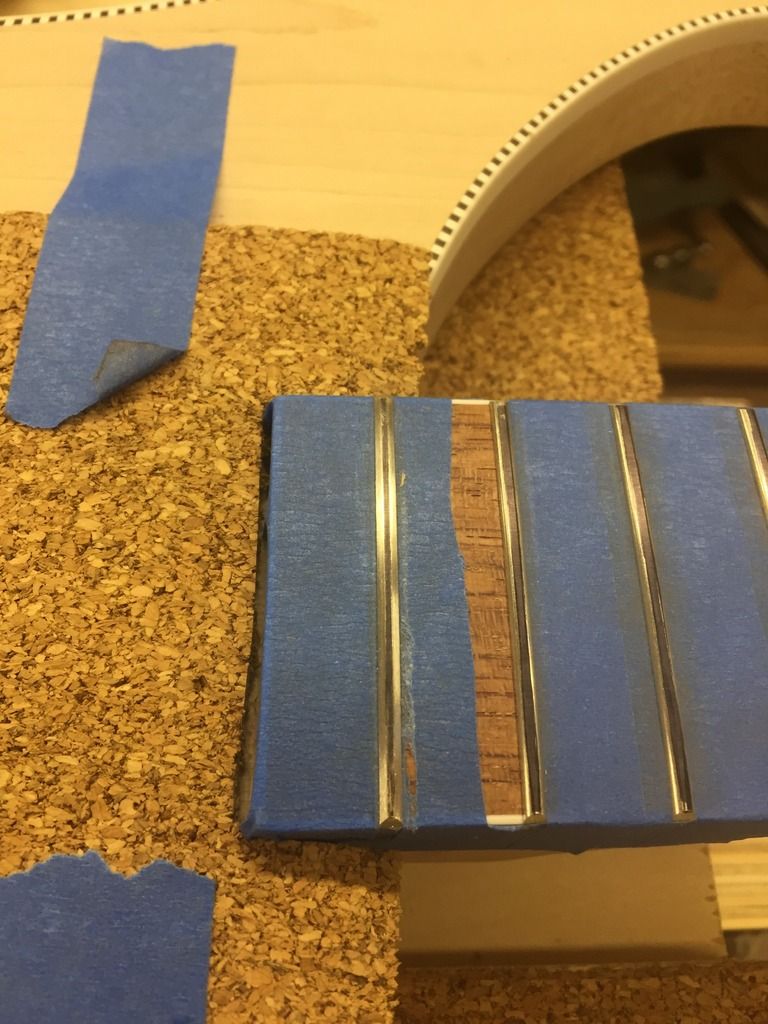
Per the suggestions, went back and got the fret crowns much thinner with a combination of file and sanding stick, as thin as I dared without scratching the fret tops.
I think I did all right for a first fret level and polish, here they are all polished up. I worked my way up through some micro-mesh and then metal polish. They look purty, but I realize that shine won't survive more than a few minutes of playing.
Re: The Hossenfeffer Bass
Posted: Tue Mar 07, 2017 2:33 pm
by David King
That'll work!
Re: The Hossenfeffer Bass
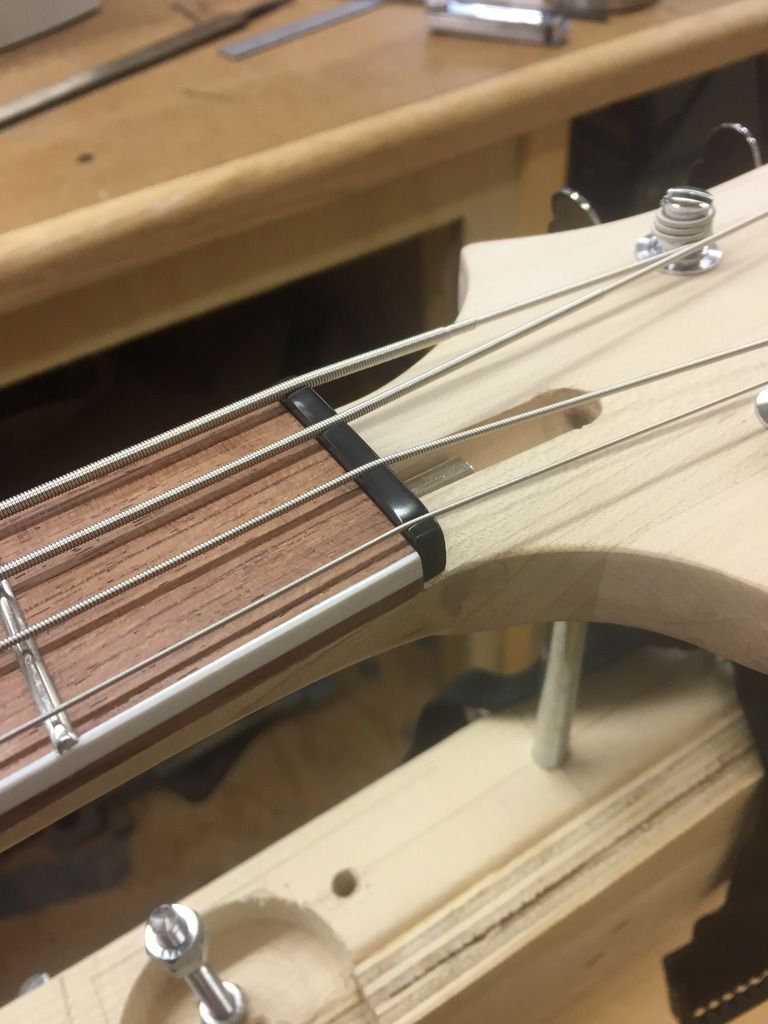
Posted: Mon Mar 13, 2017 5:37 pm
by Alexander Higgins
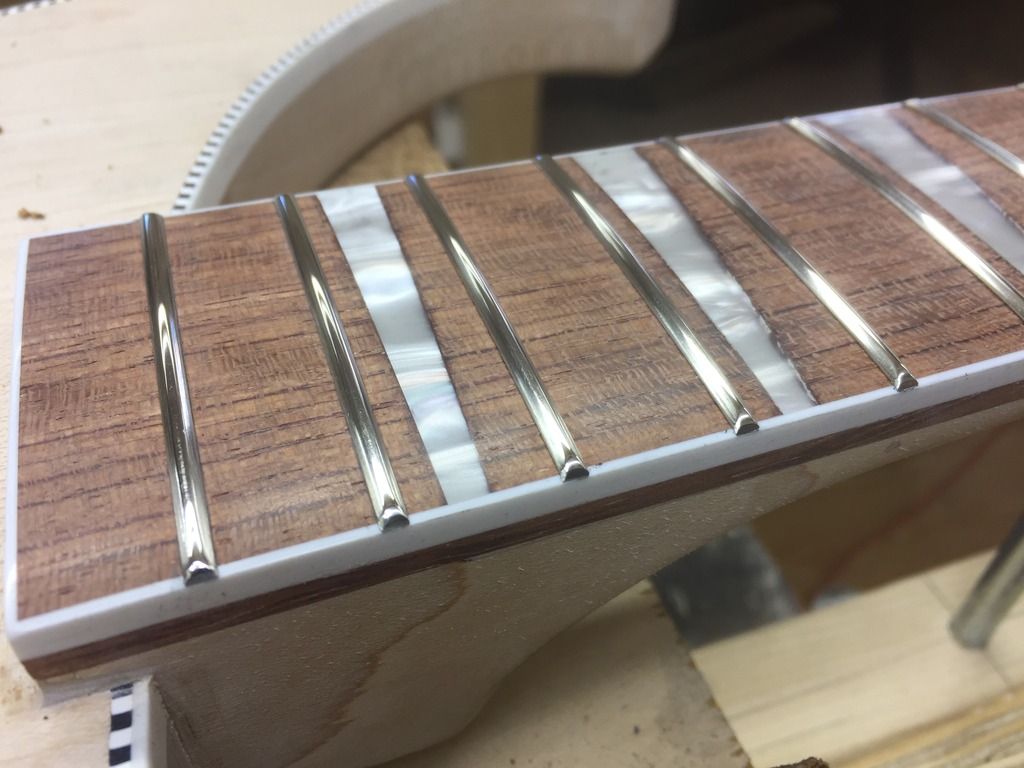
First Nut Job (No bad jokes, please)
This is an OEM Rickenbacker bakelite pre-slotted nut. I like the material, it's very hard and kind of waxy, but it takes a nice polish. I was shooting for .022" clearance from top of first fret to bottom of unfretted string, which would theoretically leave around .005" clearance when fretted at third. I overshot a little, it's more like .003/.004", but nothing buzzes, so I think I'm OK.
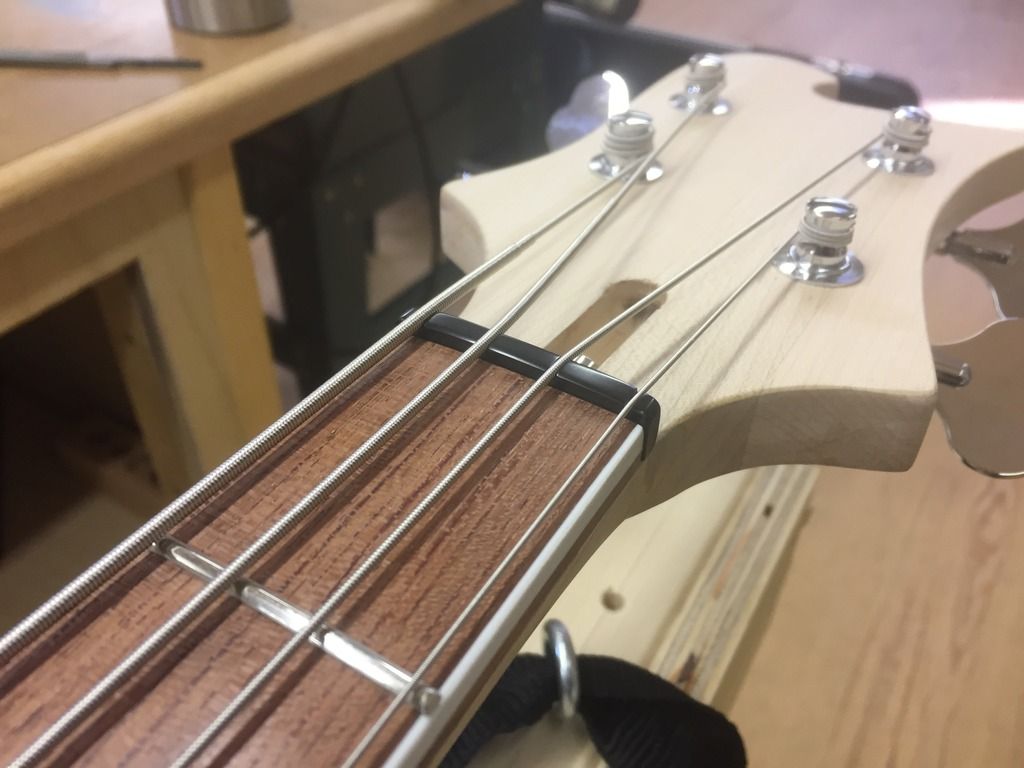
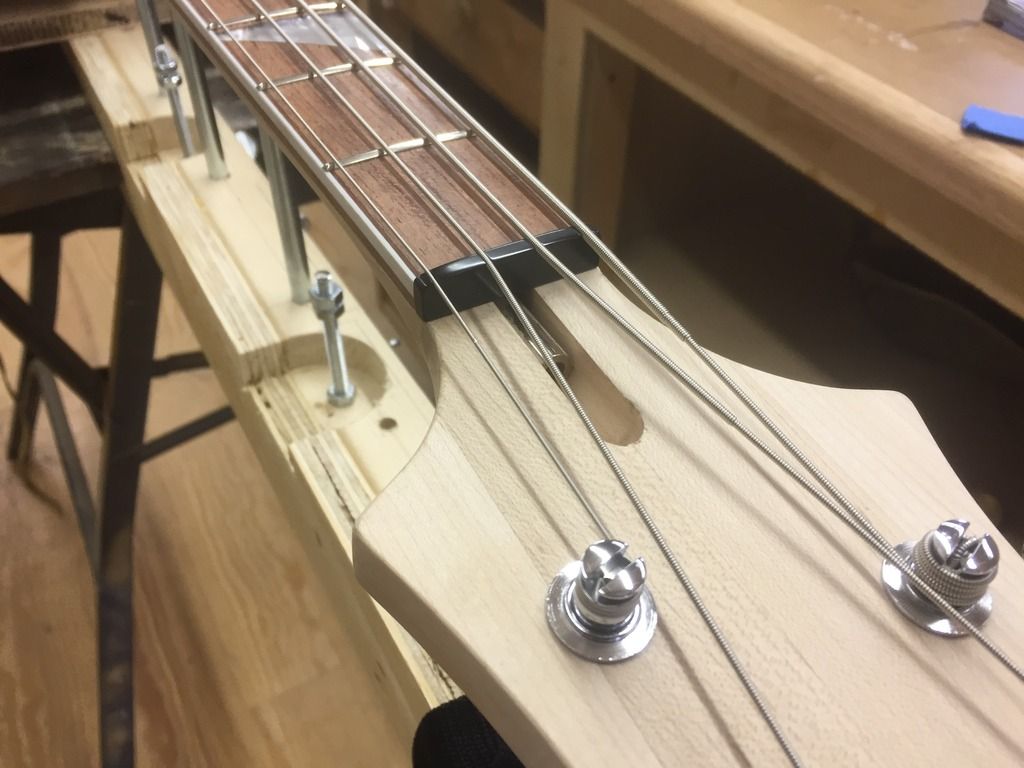
The bottom of the nut blank is pretty smooth from me filing on it, and when tuned to pitch, the string tension pulls it towards the E string side due to the string paths. I can easily push it back into place, but it keeps drifting. Should I roughen the bottom of the nut, pin it somehow, or just trust that a couple drops of CA will hold it when I'm ready to glue it down?
Re: The Hossenfeffer Bass
Posted: Mon Mar 13, 2017 8:53 pm
by Bob Francis
That is really looking good.
Re: The Hossenfeffer Bass
Posted: Tue Mar 14, 2017 10:36 am
by Barry Daniels
When you get to that stage, use a couple of small drops of white glue. That will hold it fine.
Re: The Hossenfeffer Bass
Posted: Mon Mar 27, 2017 12:24 pm
by Alexander Higgins


